


How to make your Monitor look a LOT better through configuration settings
Intro;
Did you know that the most major difference between a regular Windows PC Monitor and an Apple Retina is a simple contrast setting?
Why? No-one truly knows, but I think it started with Windows 7 (and its probably something to do with reported power values) and you too can gain far superior clarity though your PC Monitor.
Select your Graphics Processor (GPU) Manufacturer;
The way to perform this very simple but very rewarding upgrade depends on what graphics processor is running on your system, either Nvidia, AMD or Intel. You may already know (as in my case I bought it separately and physically installed it), or there may be a sticker on your PC saying AMD or Nvidia graphics but lacking that chances are its probably Intel either Integrated Graphics or the more modern Iris.
If you already know your Graphics Processor (GPU) Manufacturer, select the link below.
Or if you want to go straight to installing Monitor Drivers (though a significantly more advanced topic), select the link below.
Find your Graphics Processor (GPU) Manufacturer;
To find out your GPU Manufacturer, the easiest way is to open a Windows utility called DirectX Diagnostics (dxdiag). To do this hold down the Windows Key and press 'R', type dxdiag in the text box and either click OK or press Enter/Return.
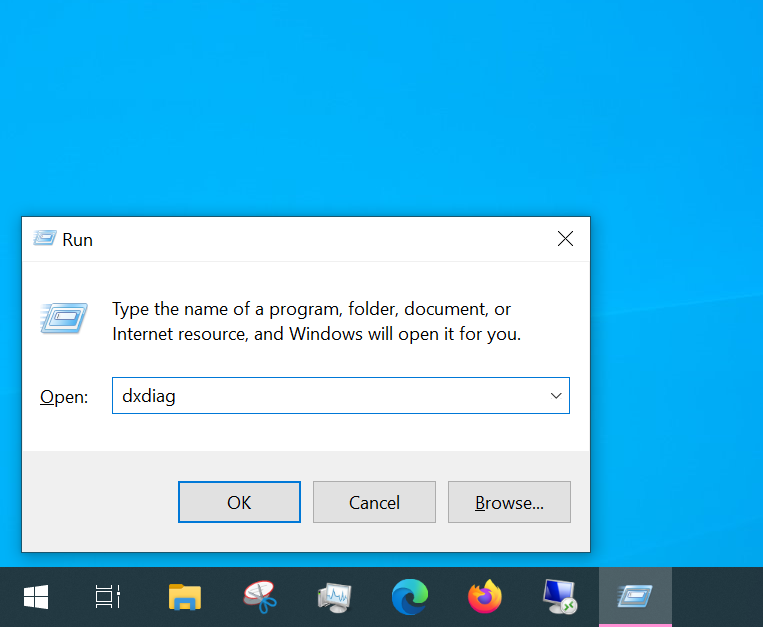
And a screen should appear that looks like below.

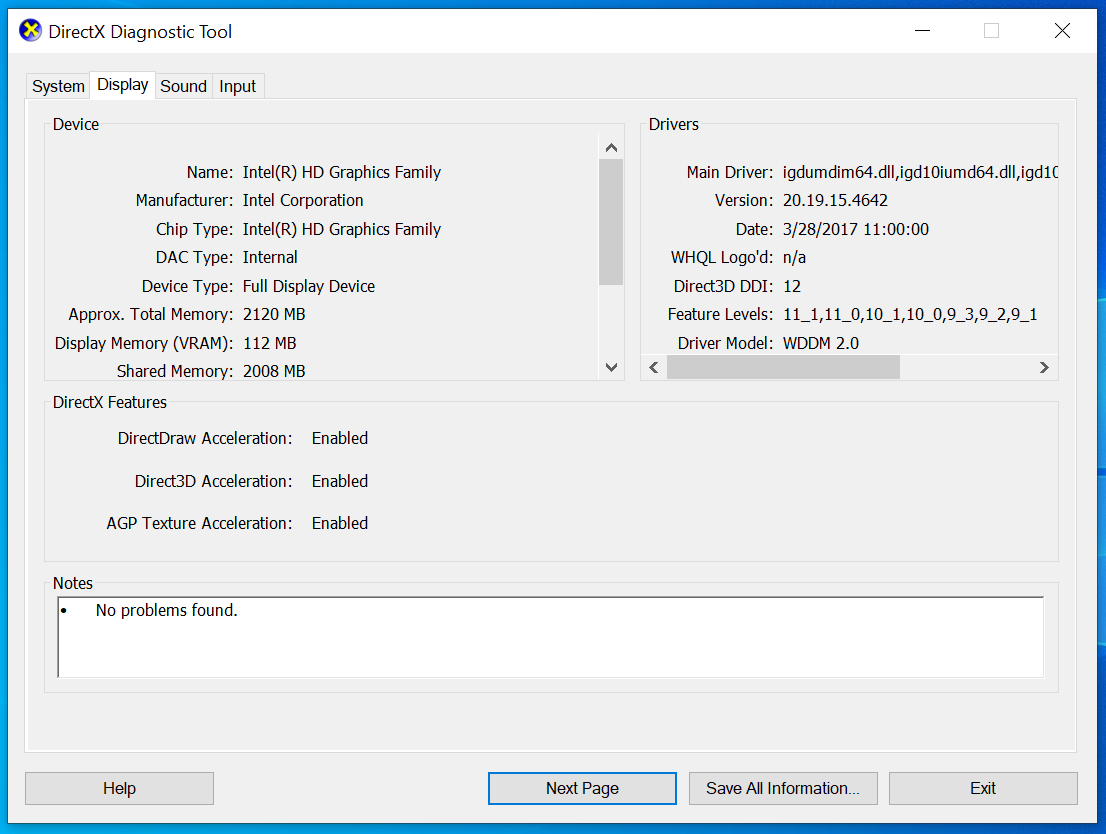
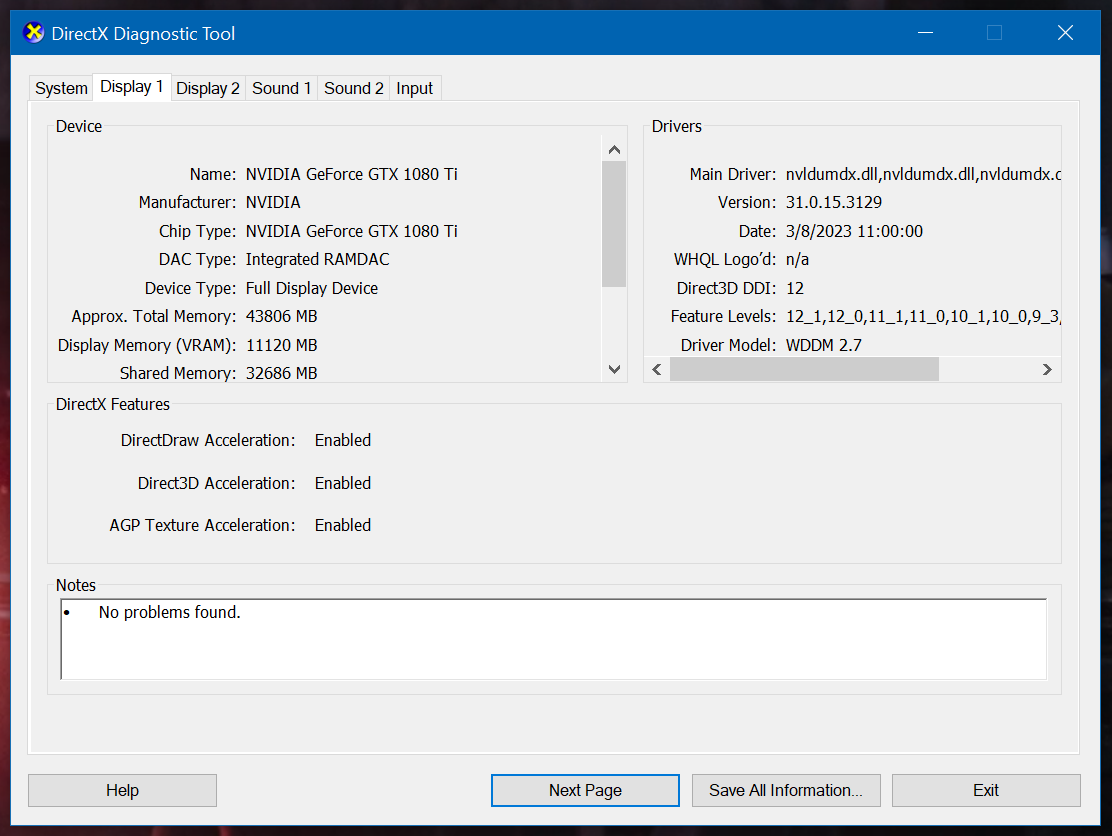
Select the Details tab in the upper left corner and in the Manufacturer field it should say Intel, Nvidia or AMD and in the Name and/or Chip Type field it should say what type of Processor it is.
(Intel HD Graphics)
(Nvidia)
(Intel Iris XE)

Select the Manufacturer and/or Processor that you have from the list below;
Nvidia
Access the Nvidia Control Panel either by clicking on the icon in the taskbar which will be next to the clock or accessed through the ^ icon.
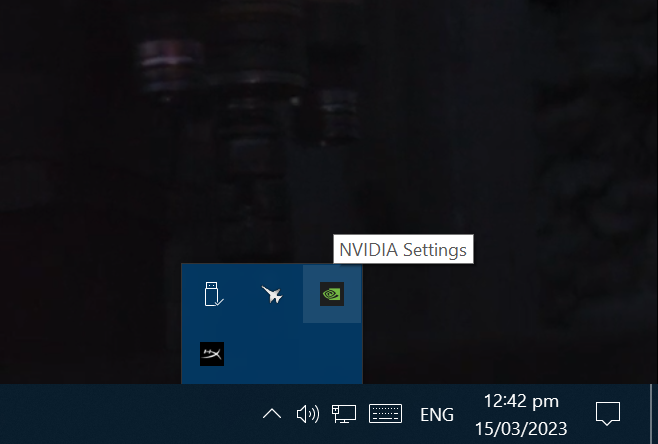
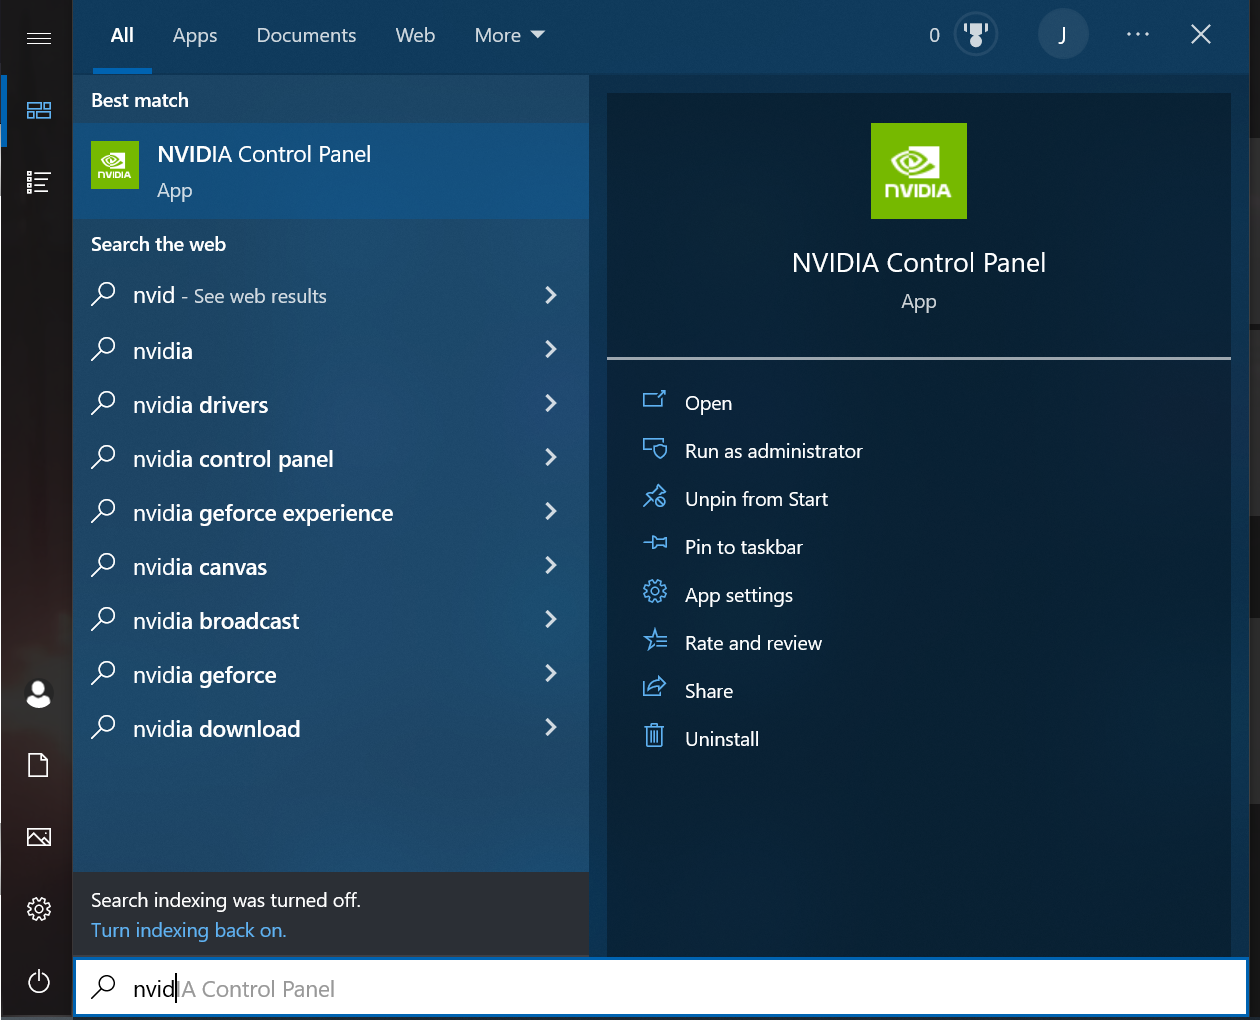
Or alternatively press the Windows Key, search for "NVIDIA Control Panel" and click on Open.
If it is not present you need to download the GeForce drivers from www.nvidia.com/en-us/geforce/drivers which will include the Nvidia Control Panel.
And the NVIDIA Control Panel should appear.
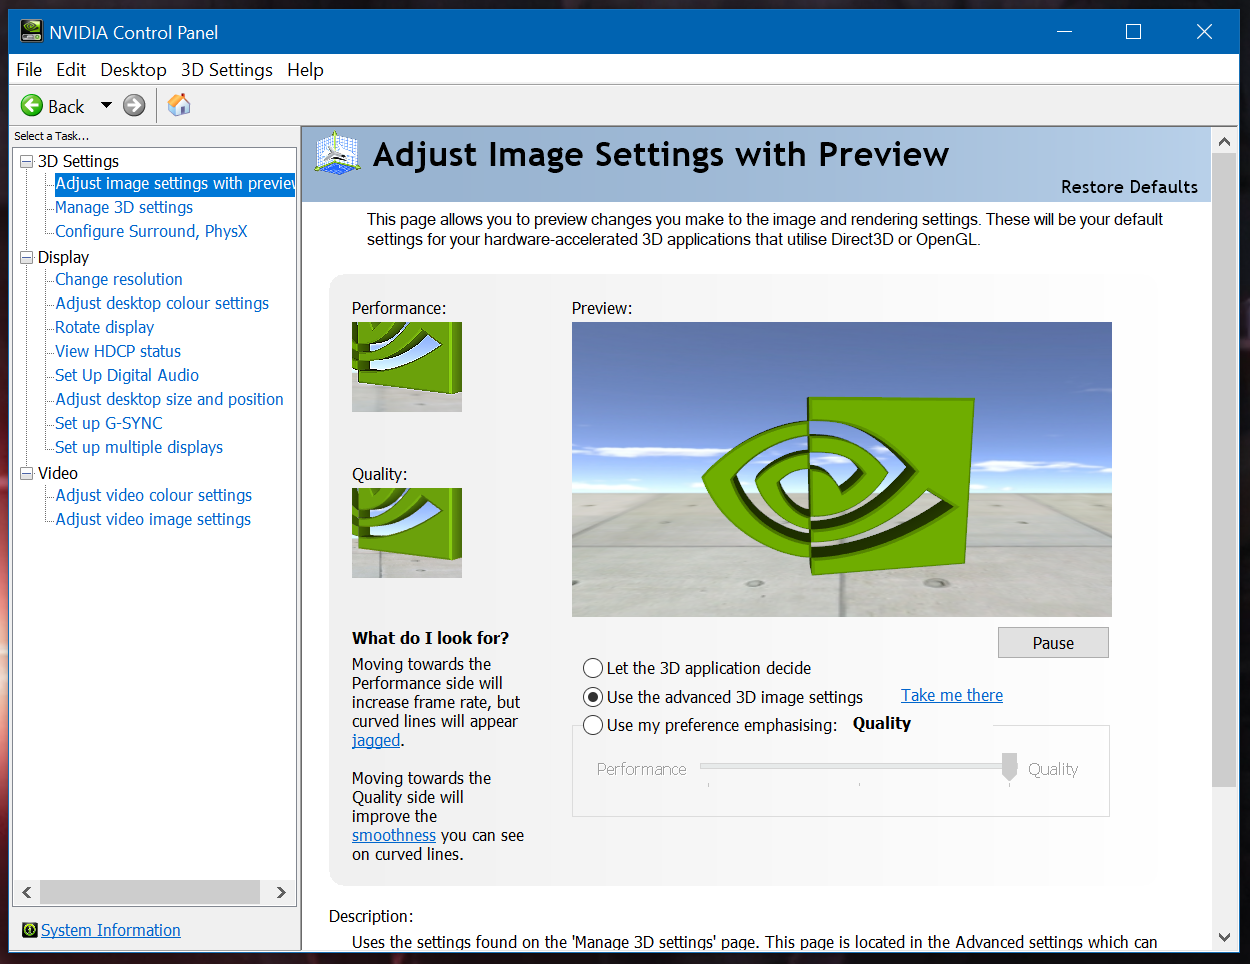
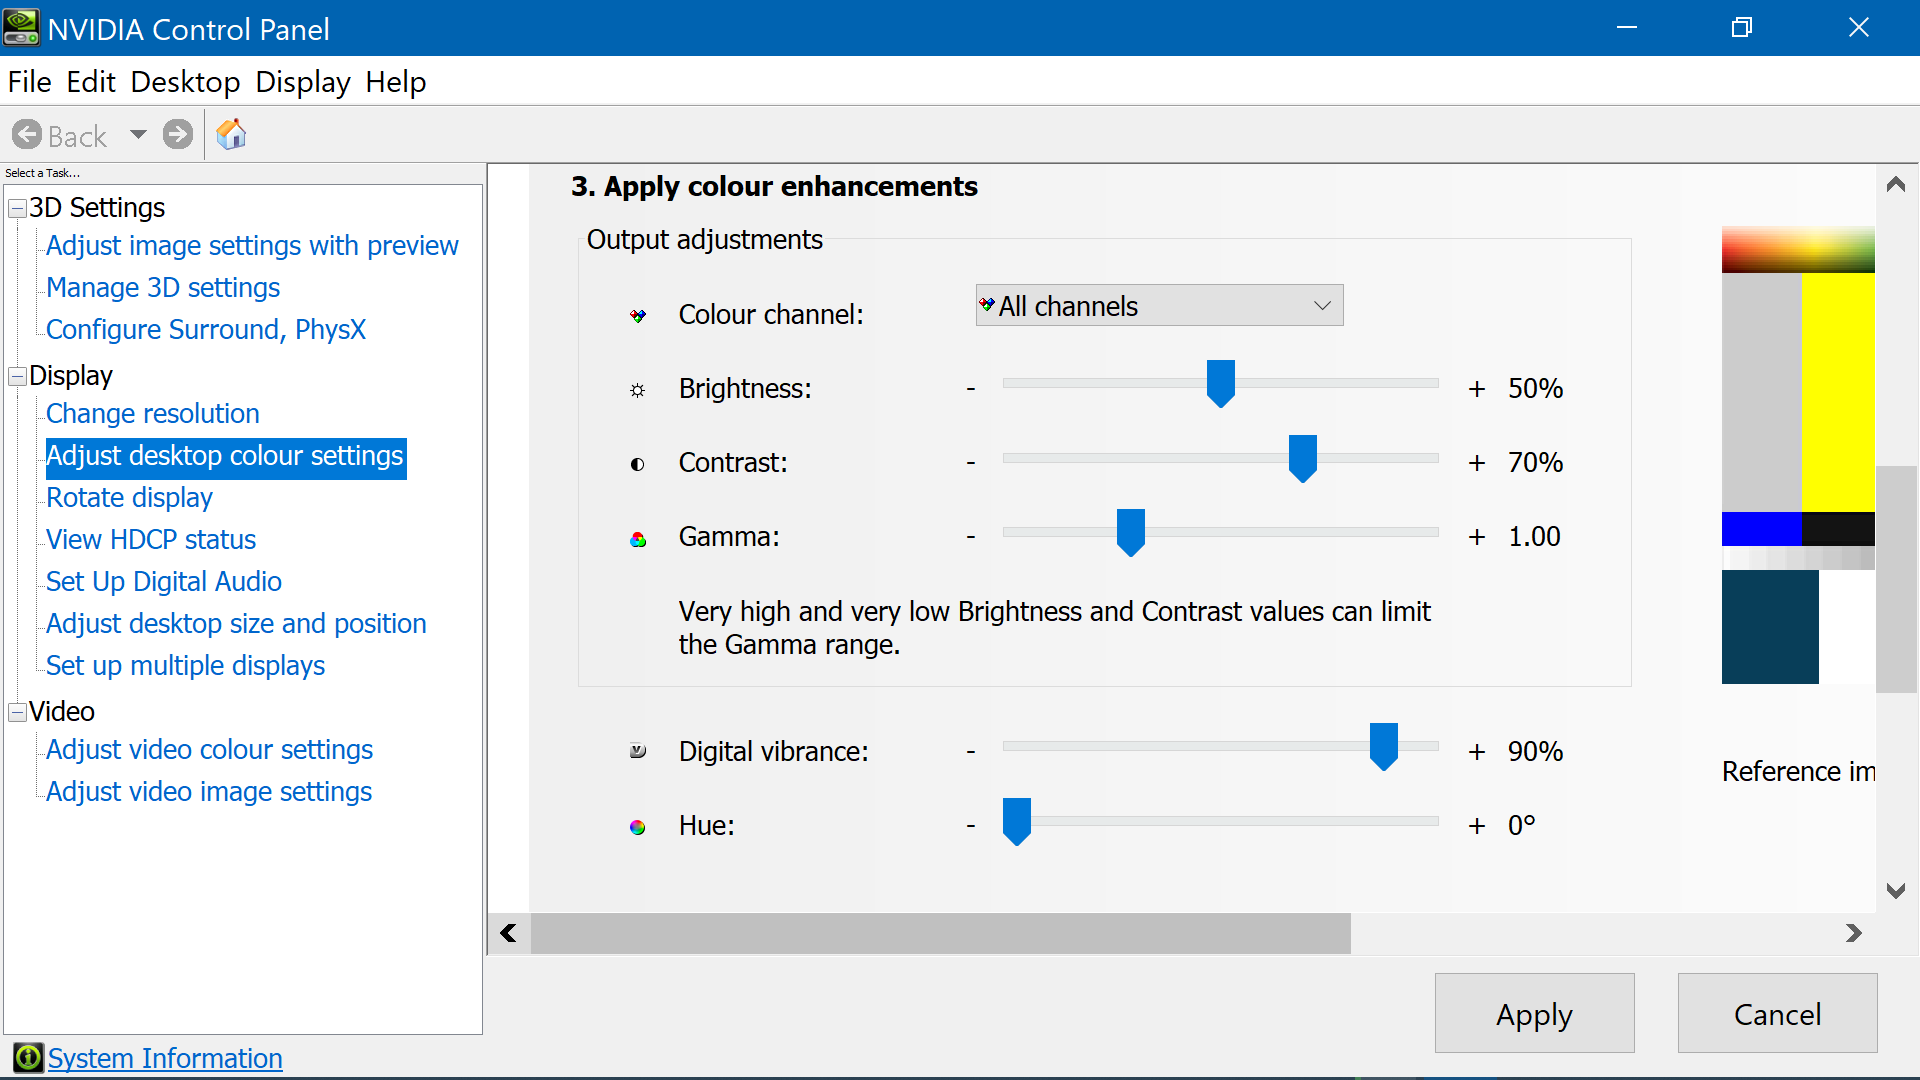
Then click on "adjust desktop color settings" in the left tab.
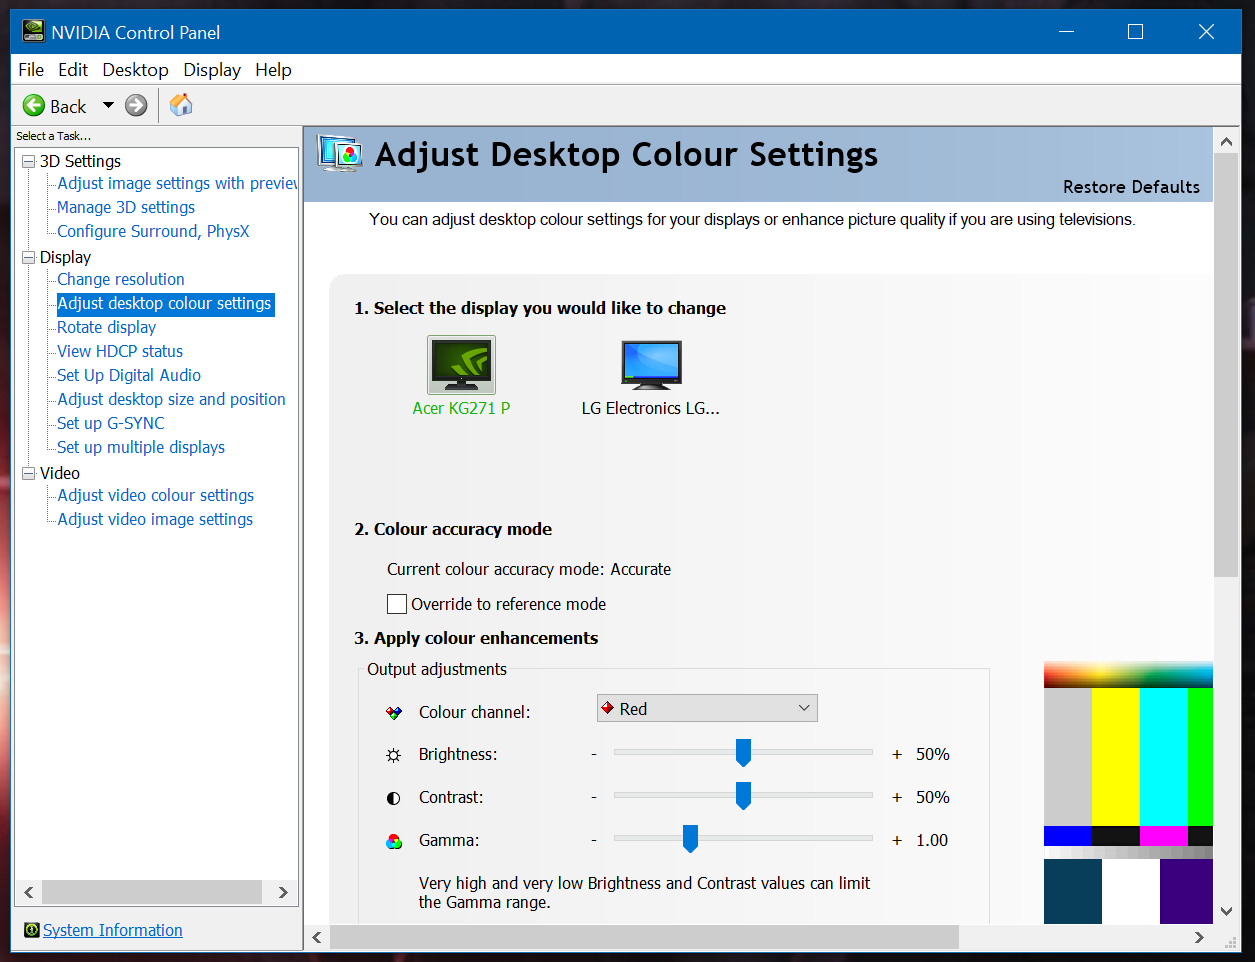
Scroll down until you see "Digital vibrance" and adjust the slider to a value around the 70-90% mark to your liking, select Apply and the Monitor should be clearer from here on.
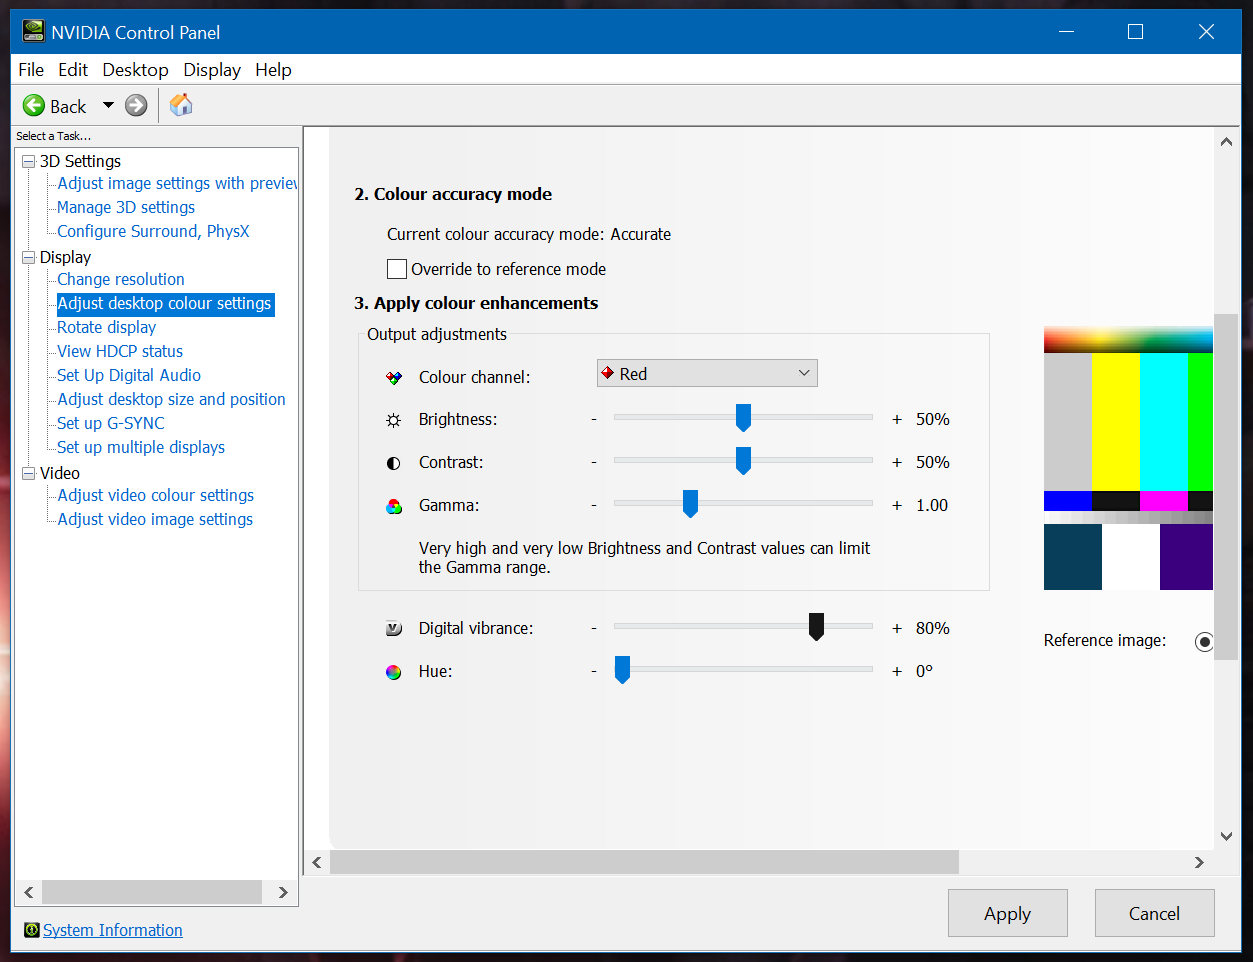
And if you like set the Brightness and Contrast settings (making sure that the Color Channel is set to All Channels) but be aware that this is in combination with the same settings on the monitor itself, I personally set set the monitor settings first then maybe use this panel for slight on-the-fly adjustments.
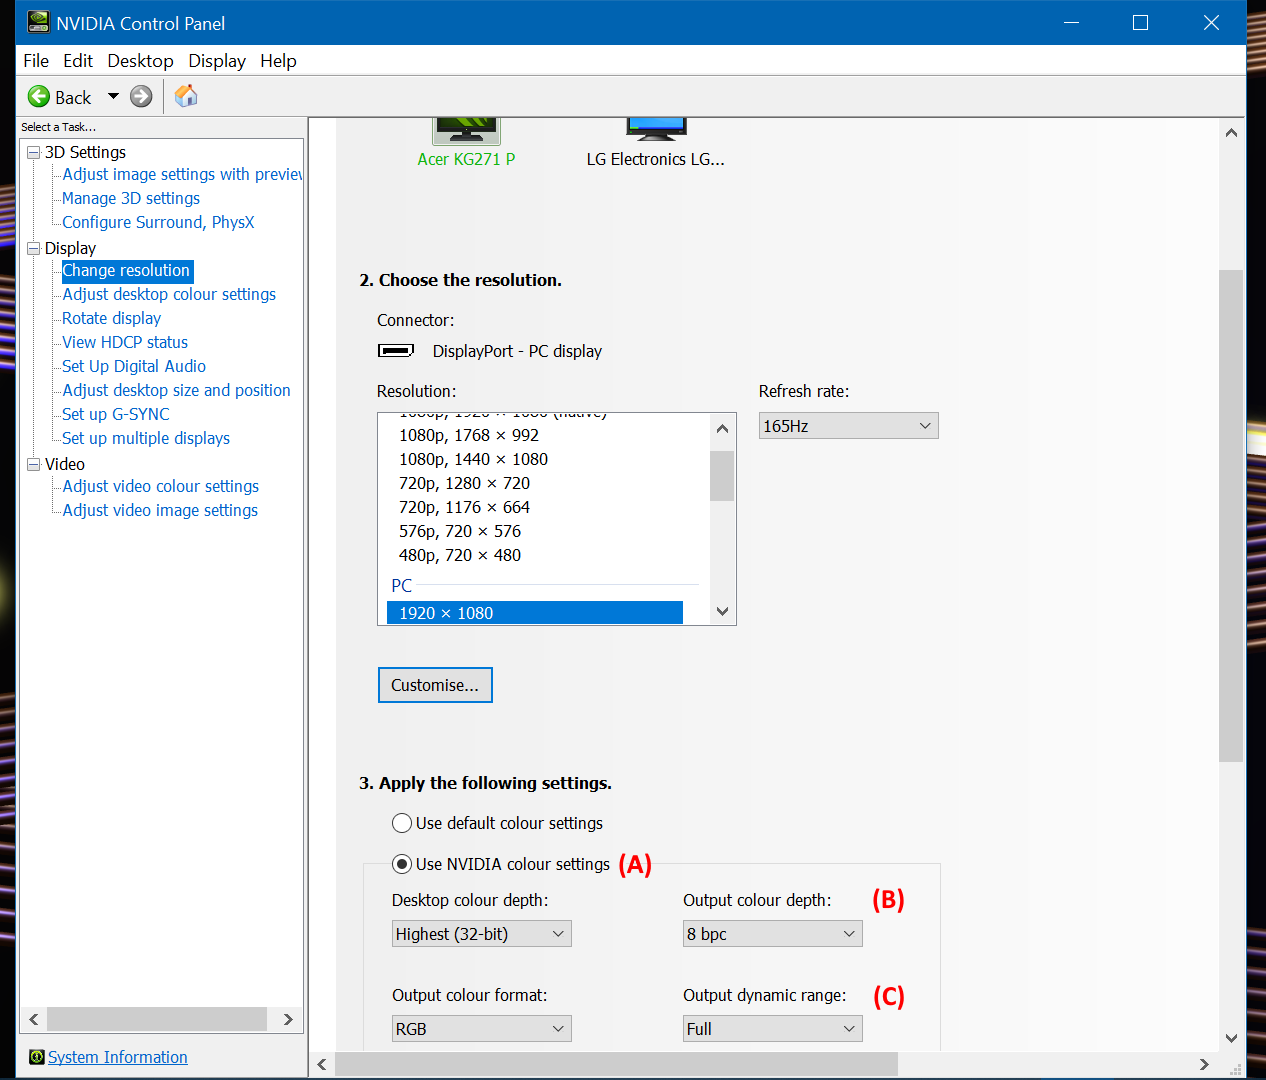
There is one more trick you can perform on NVidia chipsets. Which is to set the data protocol;
Firstly select "Use NVidia Color Settings" (A).
Ensure "Output Color Depth" is the highest number it can be (B).
And "Output Dynamic Range" is set to Full (C).
With a combination of those settings (assuming everything worked) and a final tweak of the physical buttons (contrast, brightness etc) on the monitor itself I'm certain that it will look the best it can!
After you have installed the correct drivers 😅
Intel Iris XE Chipset
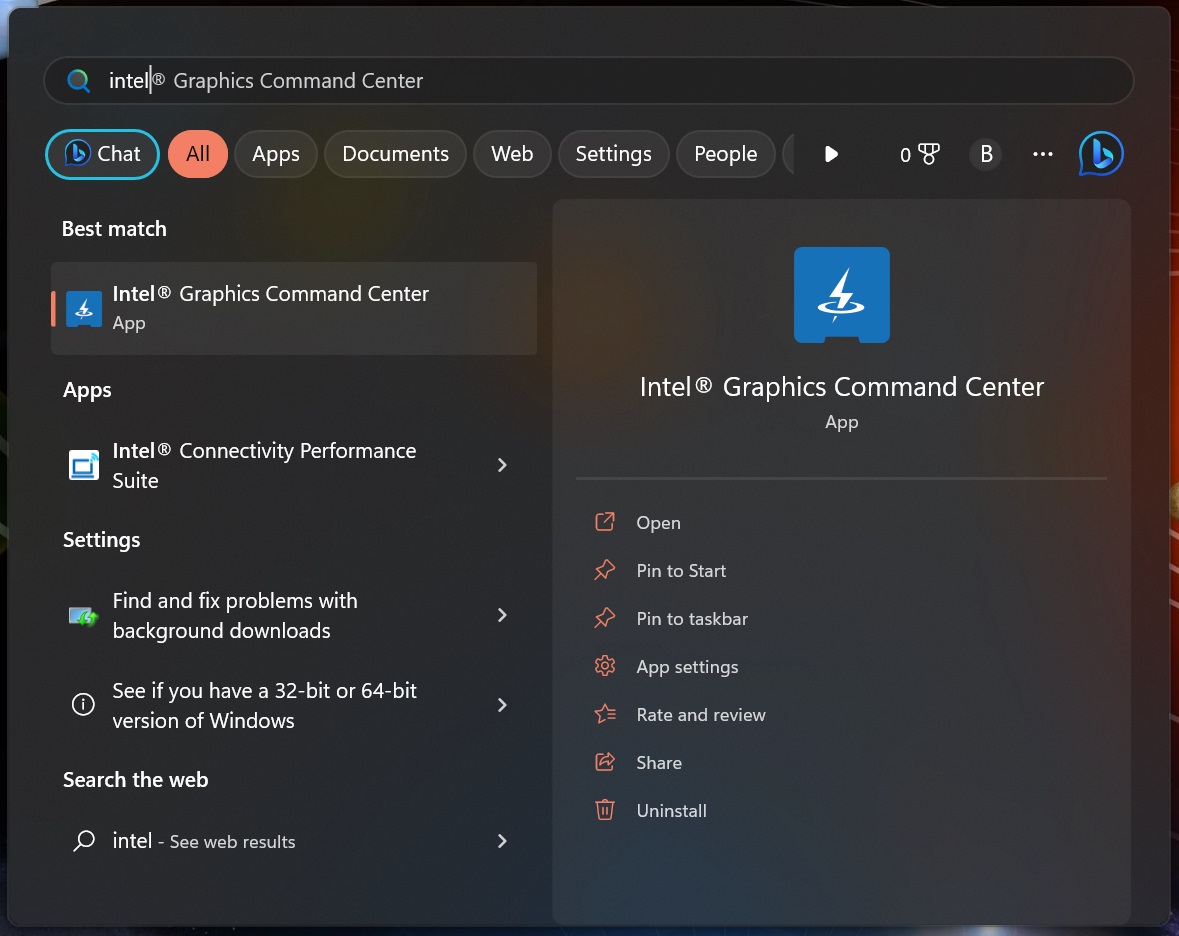
Firstly access the Intel Graphics Command Center by searching for it after pressing the Windows Key and then selecting it;
And the screen below should appear;
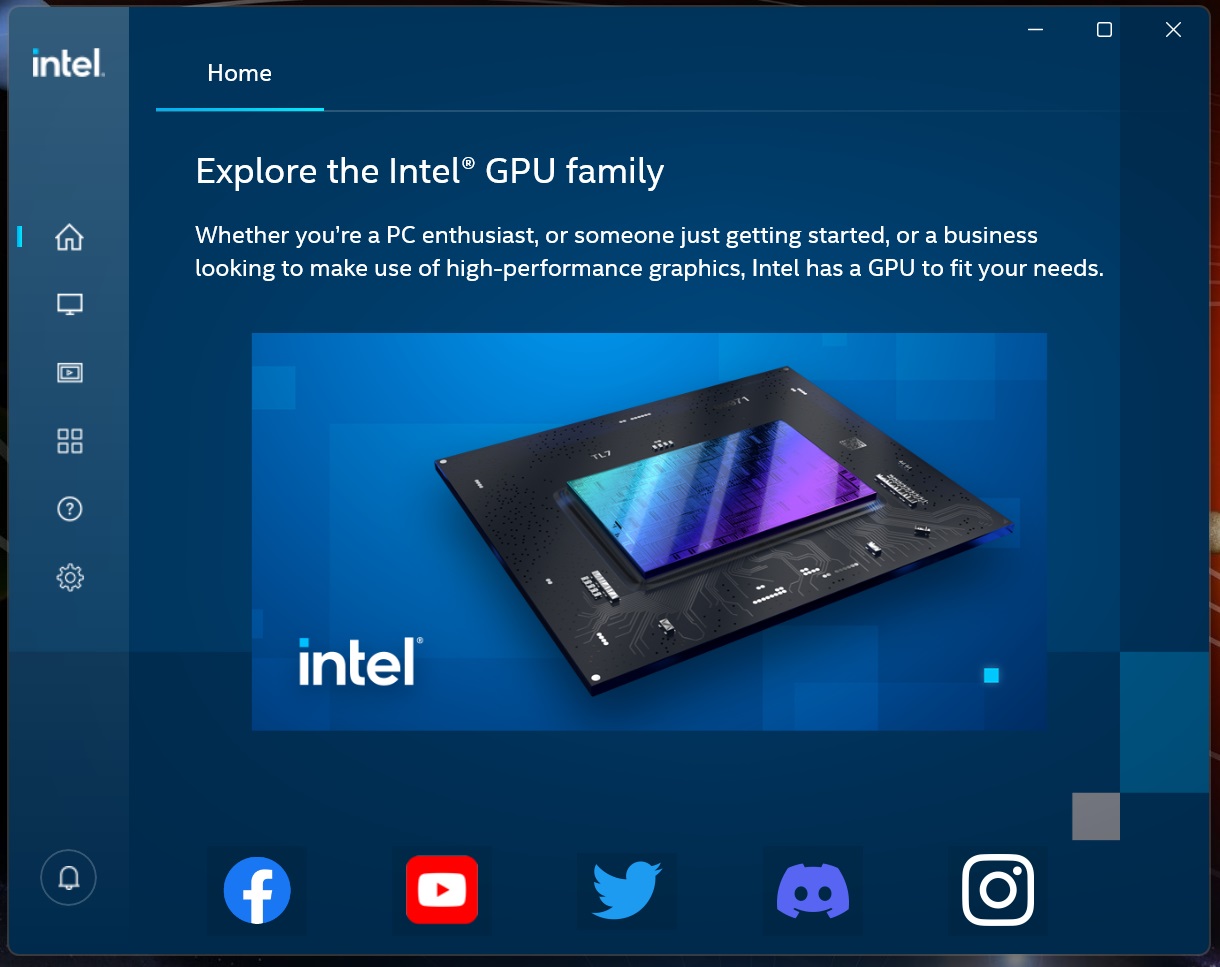
Then select the Display tab on the left;
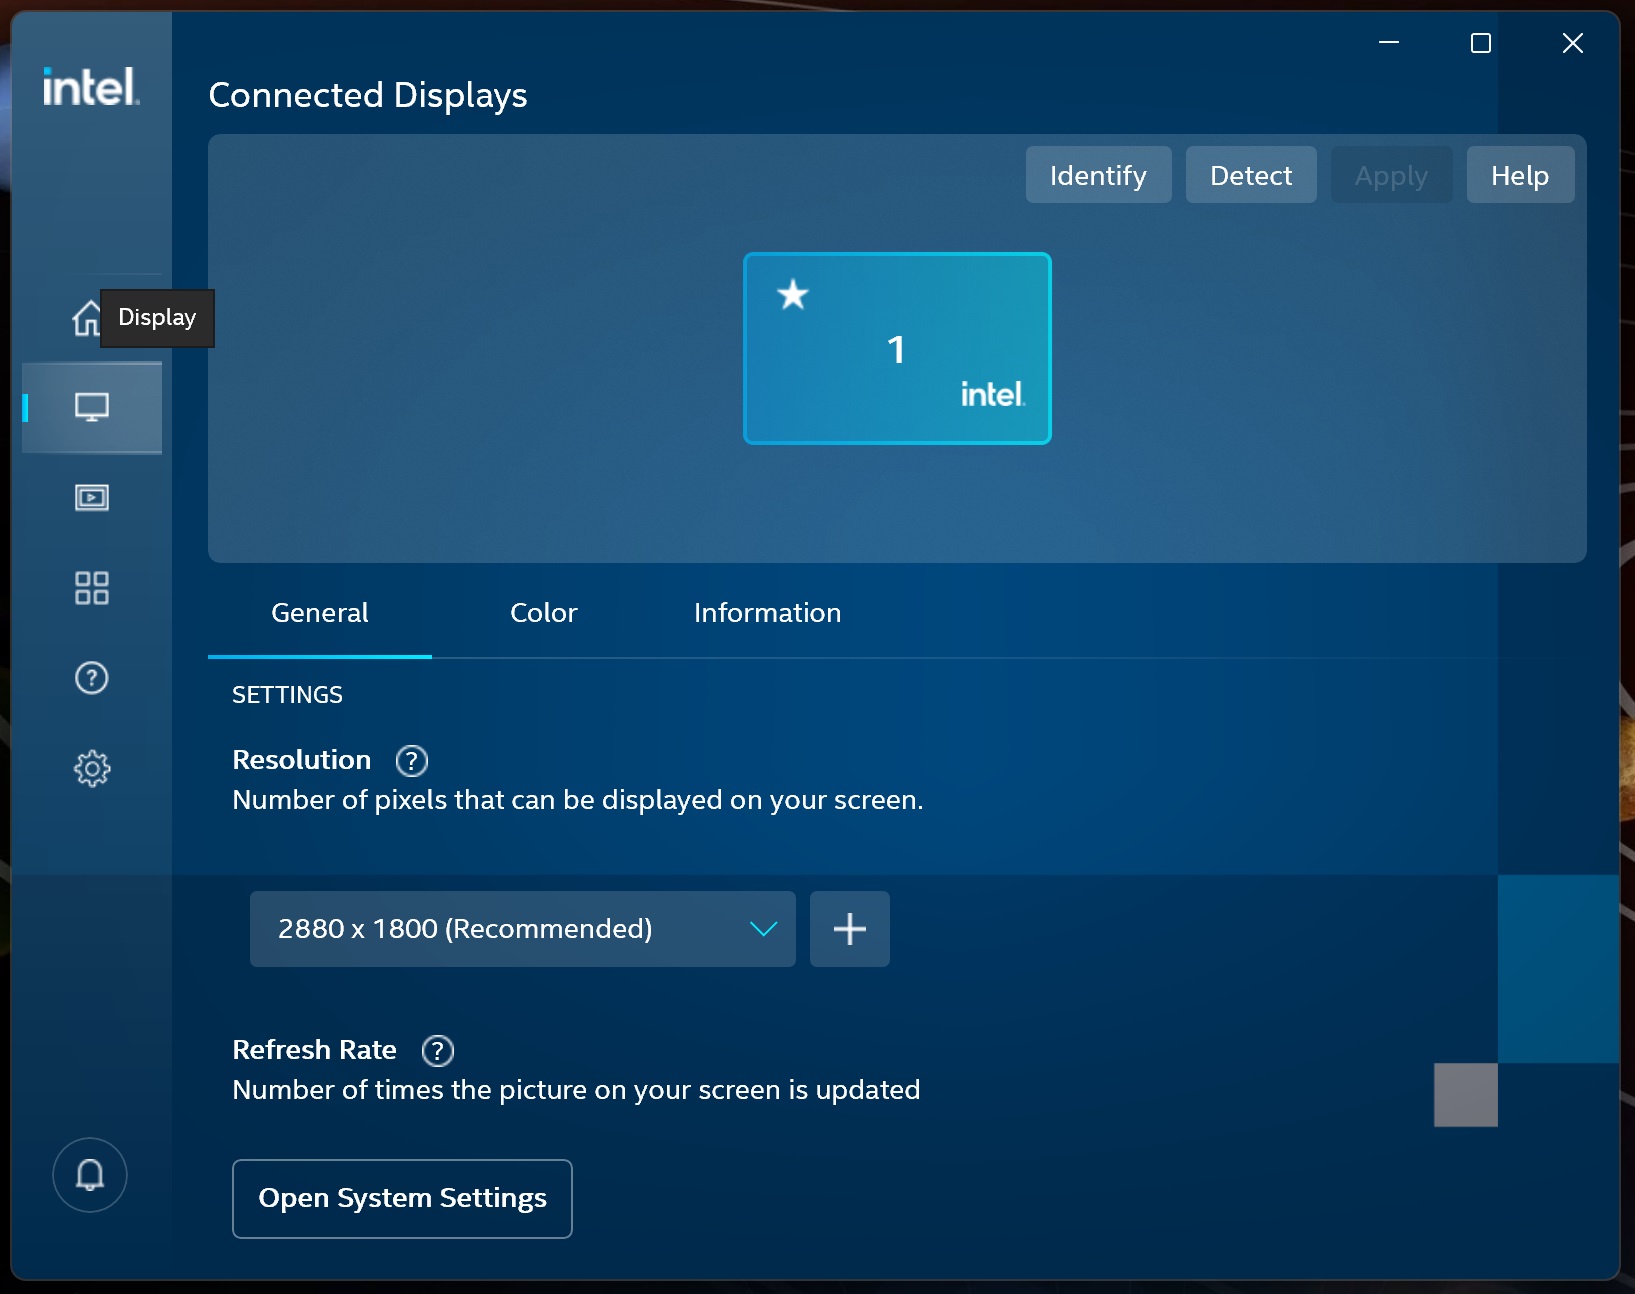
Then select the Color tab in the middle of the Display pane;
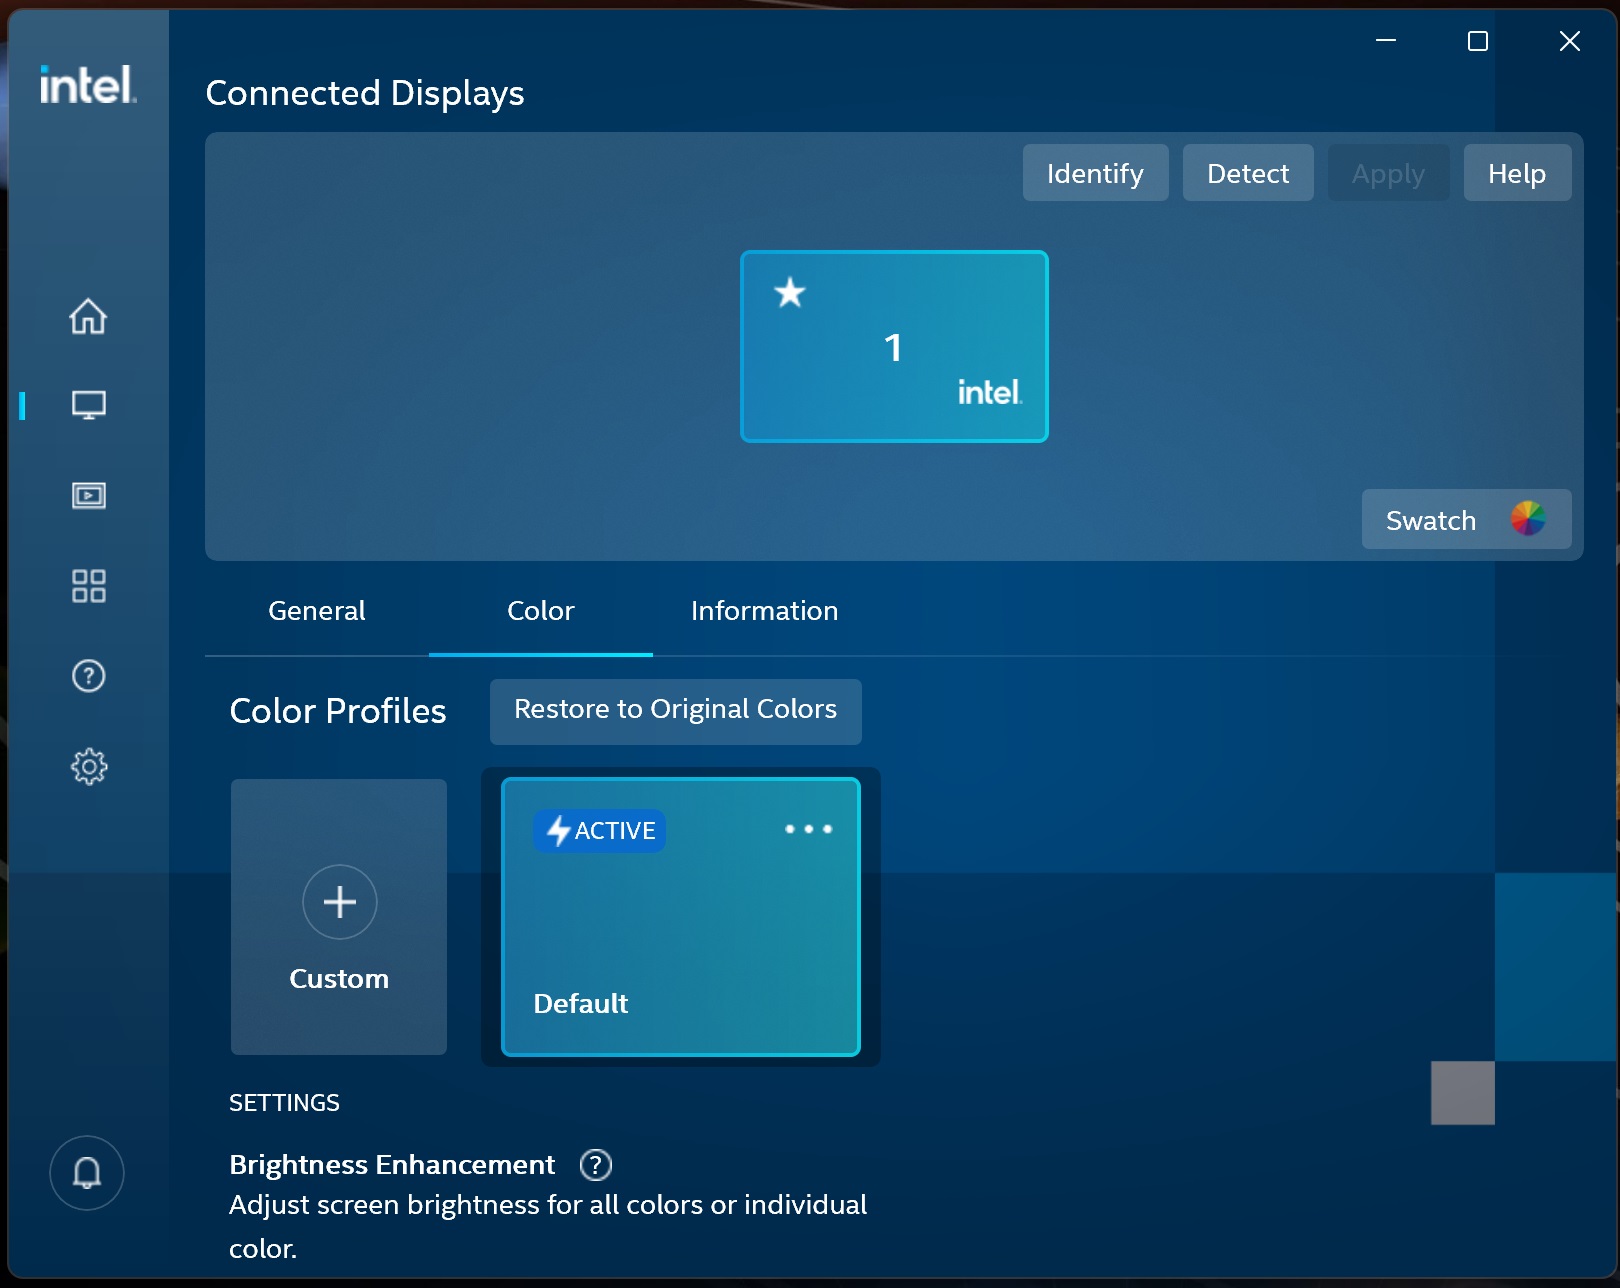
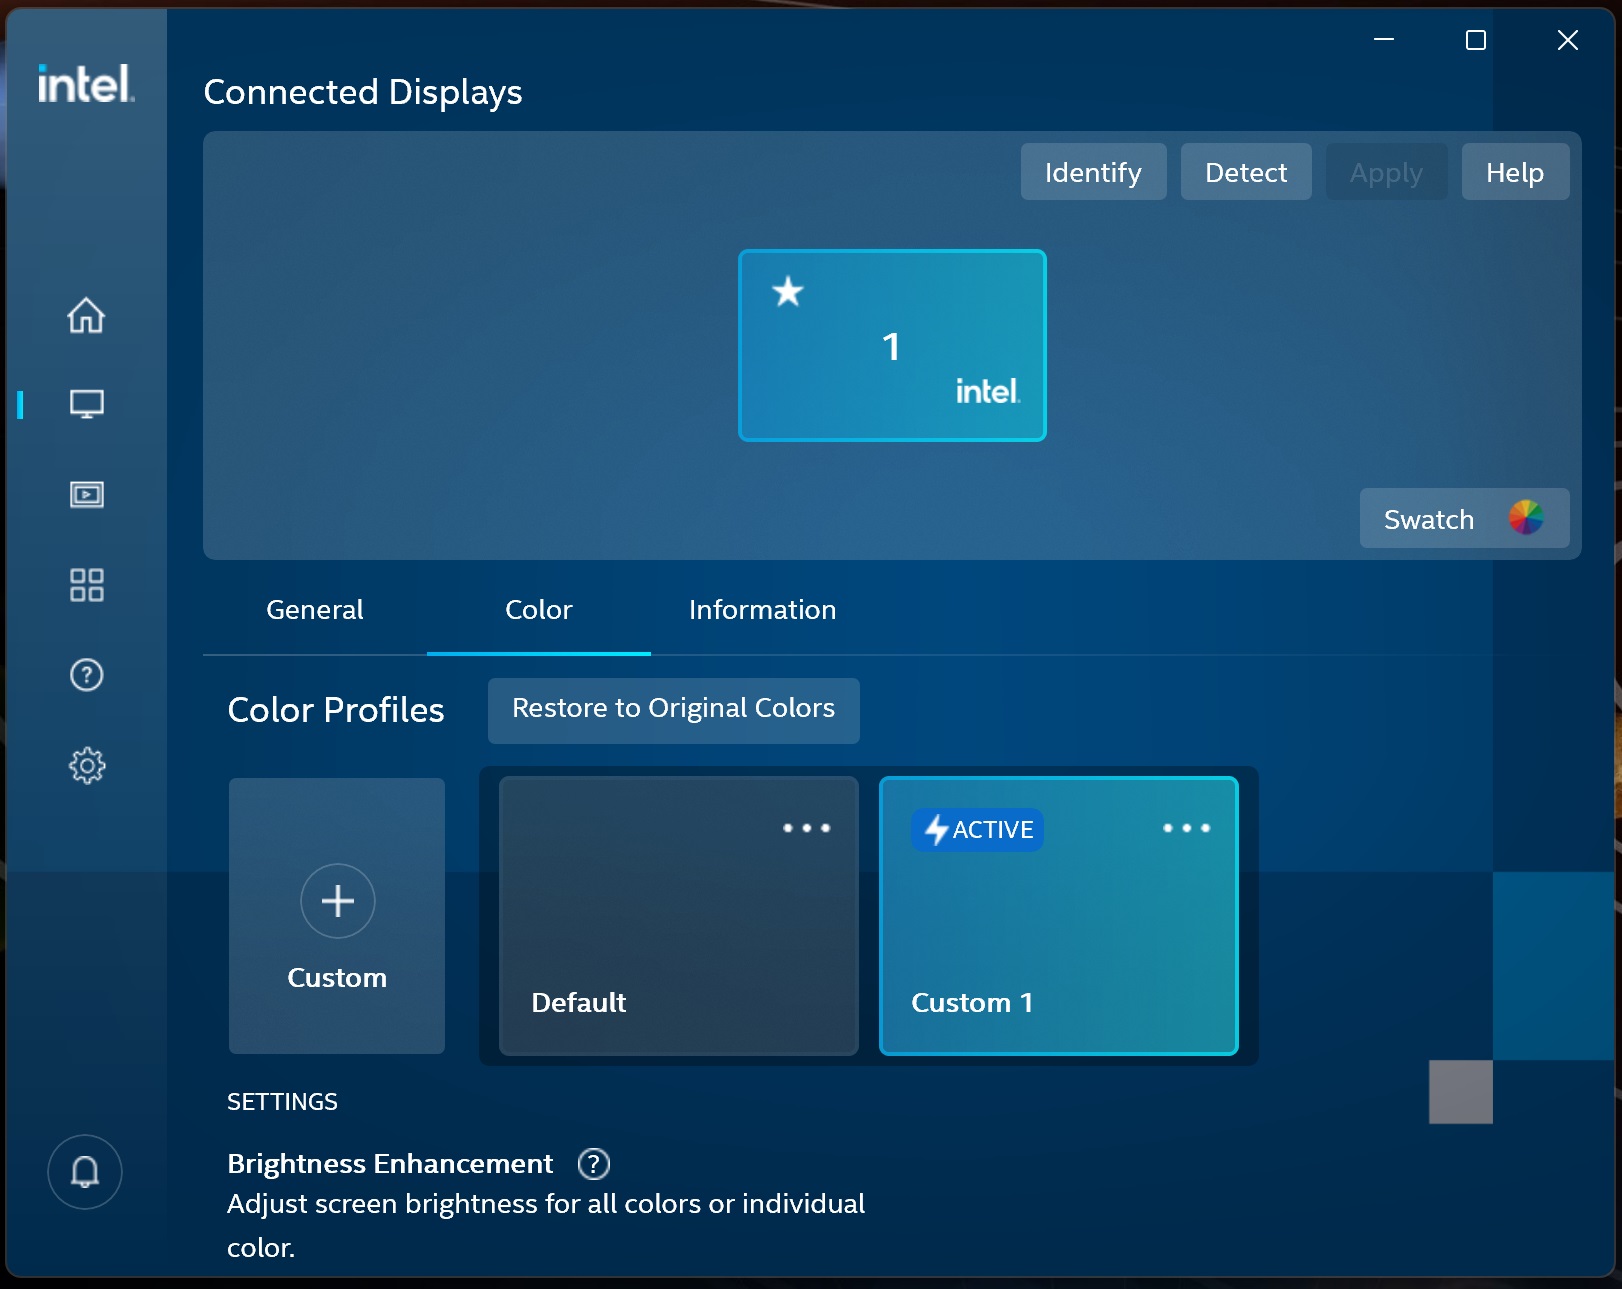
Then create a custom Color Profile by pressing the Custom button with the plus (+) symbol and the Application should automatically make the new profile active, if not double-click it till it does;
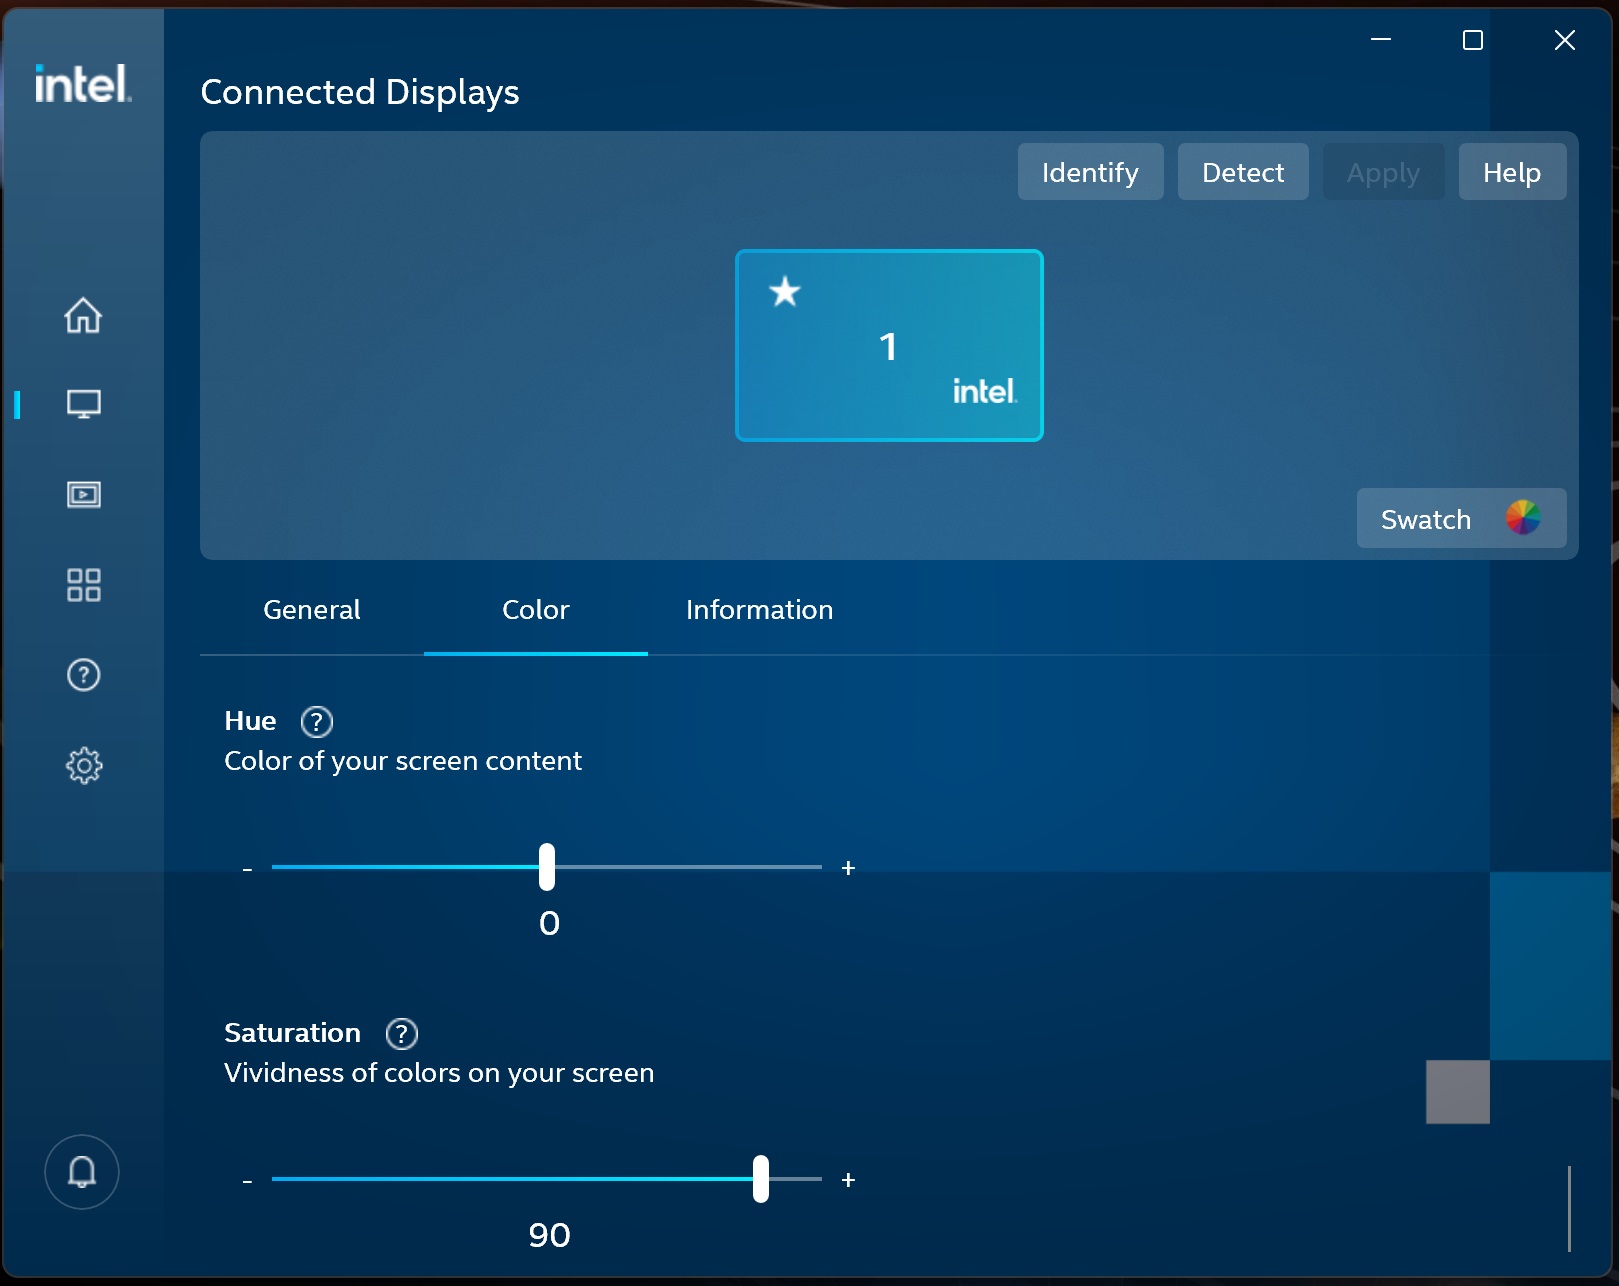
Then scroll down within the Color pane until you reach Saturation, then adjust the slider to a value that makes your screen look nice and thats it;
Intel HD Graphics
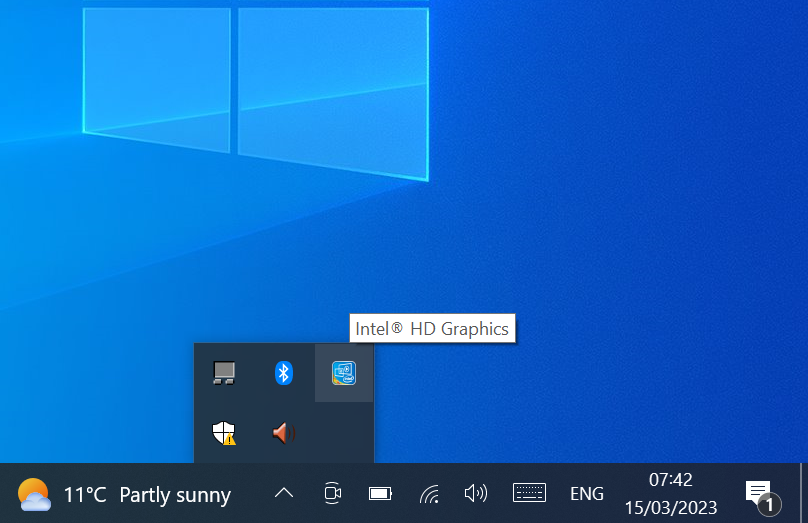
Access the Intel HD Graphics Control Panel either by finding it in the taskbar below (which may not be present);
Or alternatively to that you can find it in the Control Panel by pressing the Windows Key and typing "Control Panel";
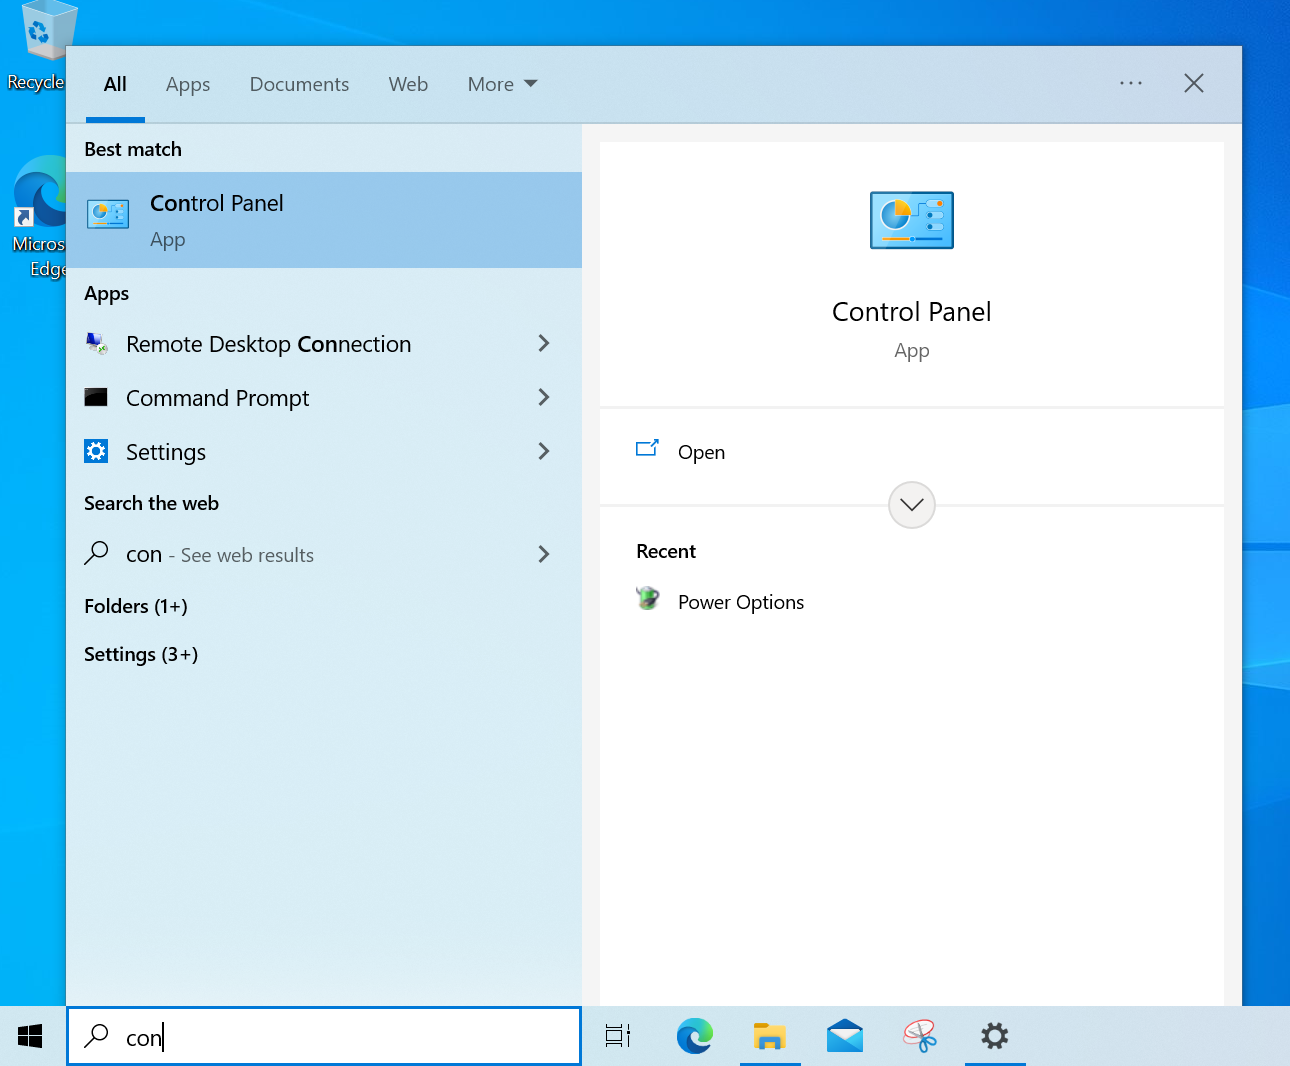
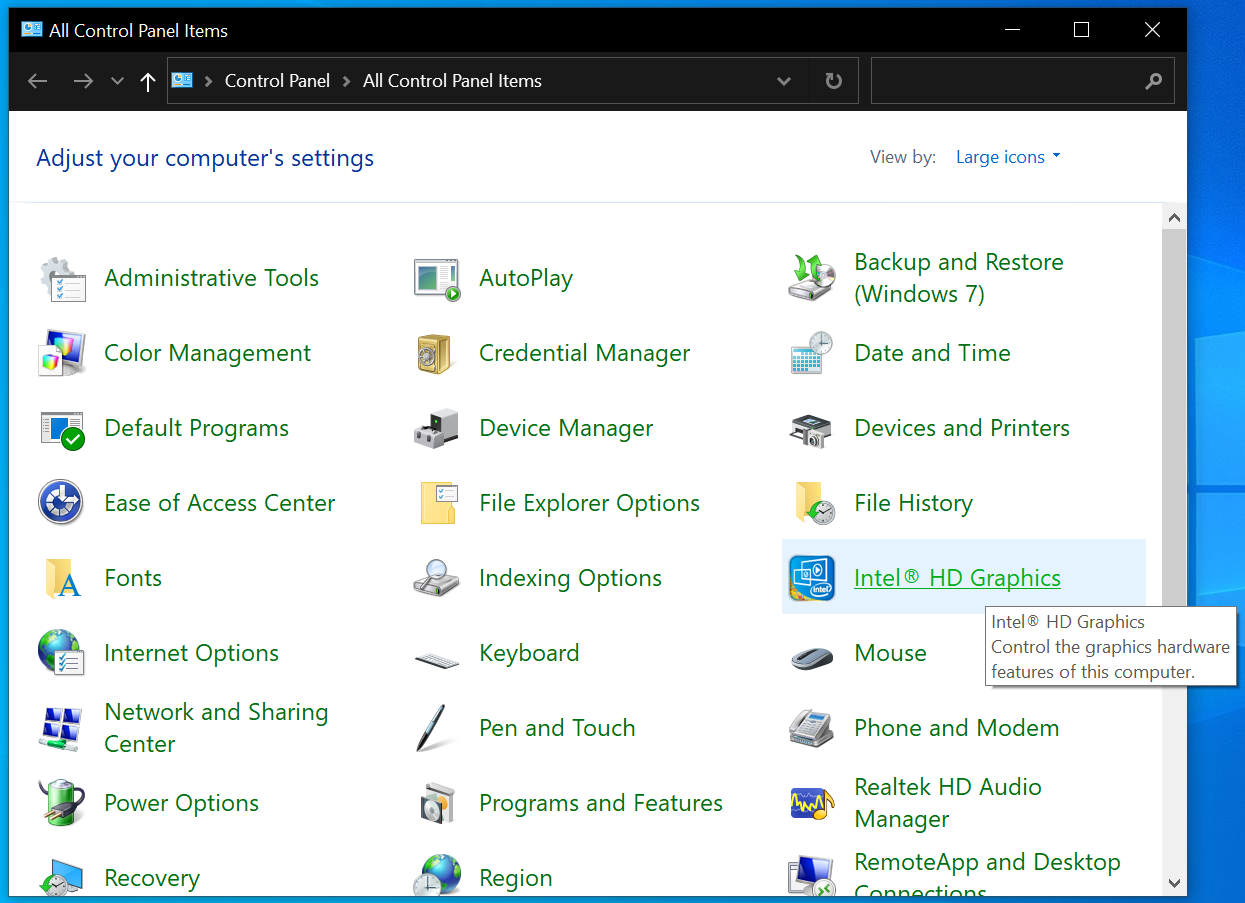
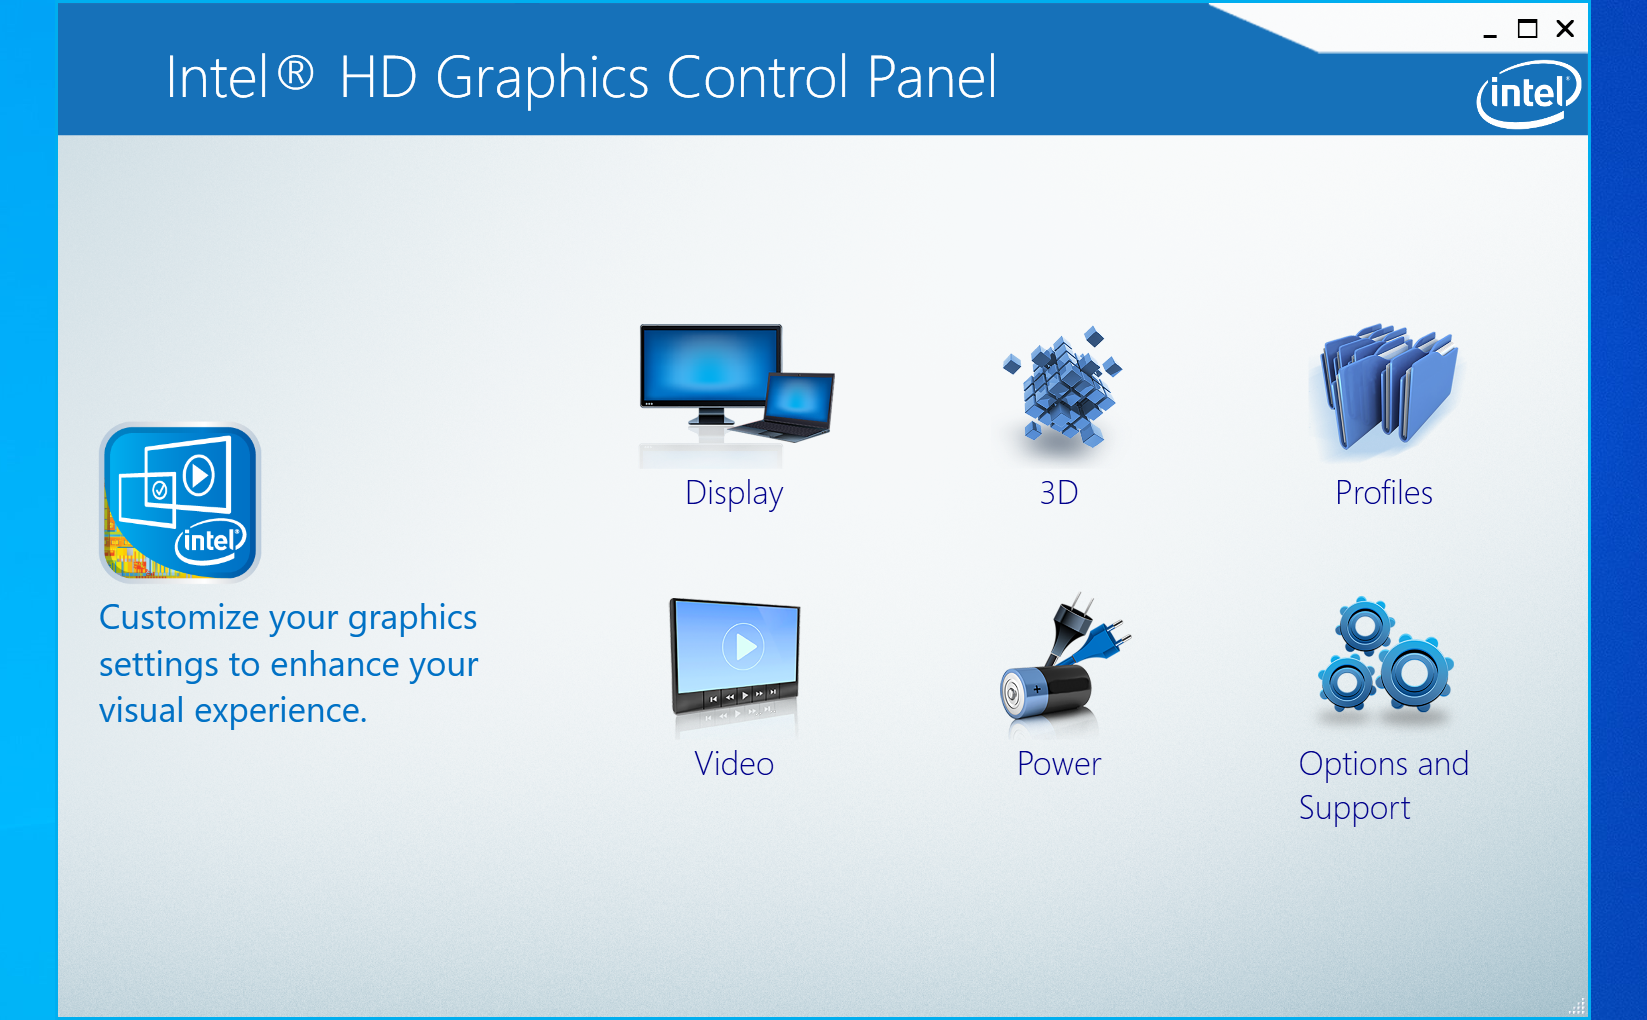
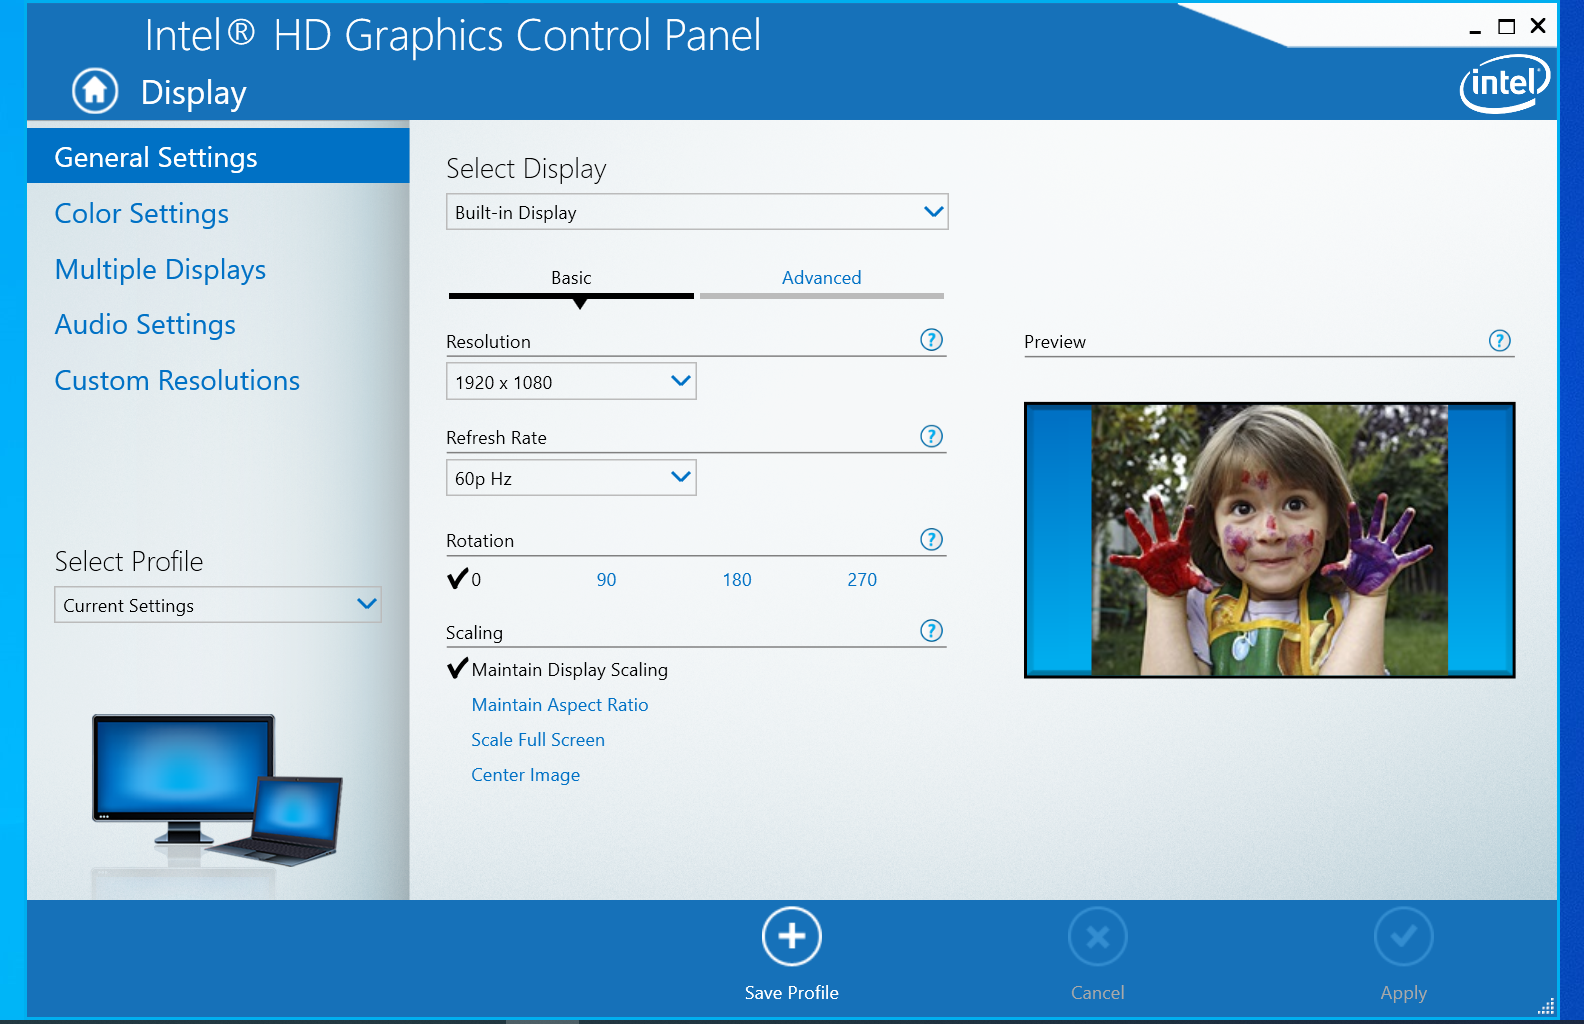
After that you should end up here, then select Display;
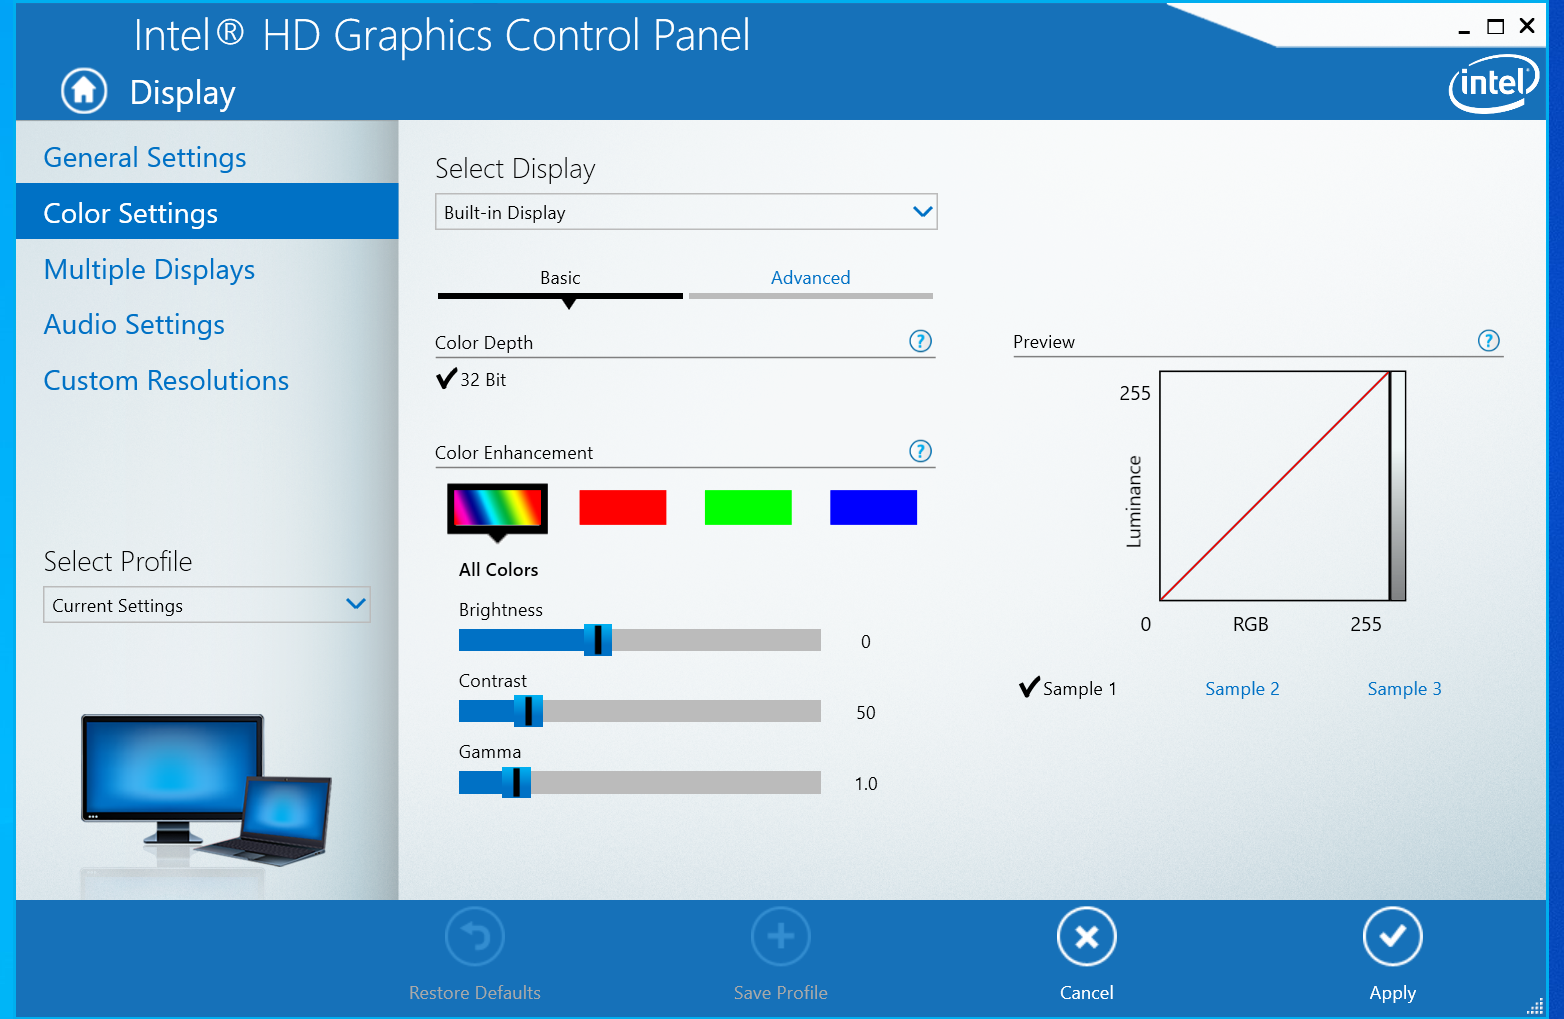
Then select "Color Settings" on the left hand side tab;
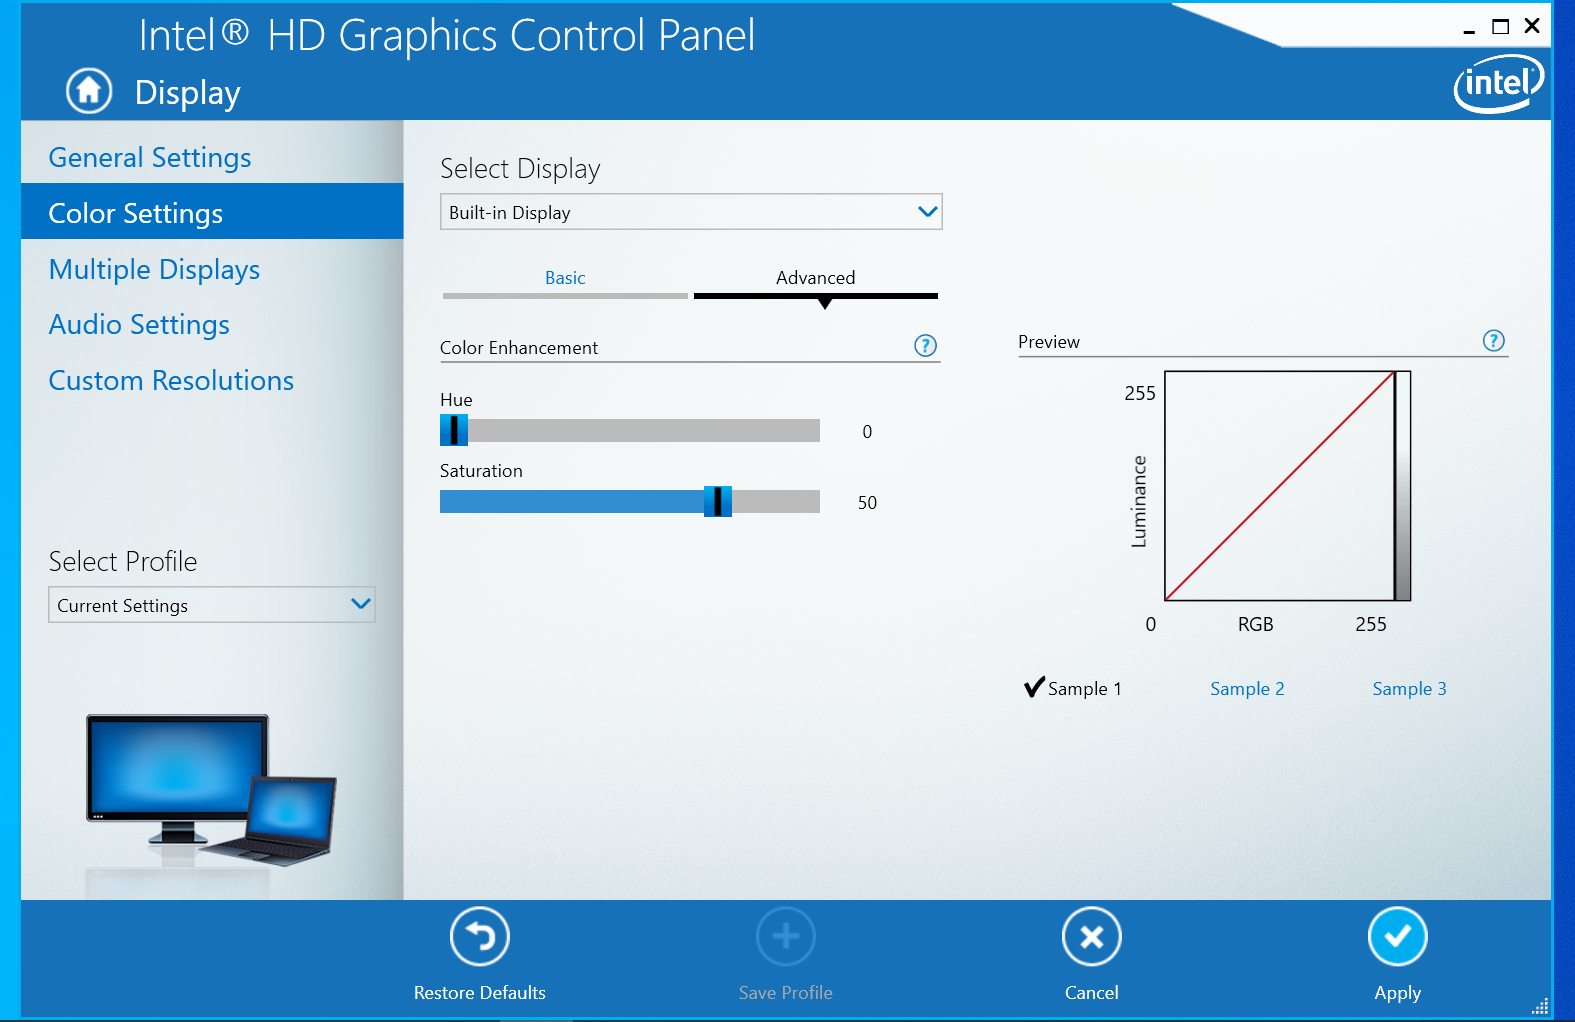
Then select the Advanced tab within the Color Settings pane;
Using the slider labelled "Saturation" will adjust the vibrance of the Monitor. Select a value to your liking from here.
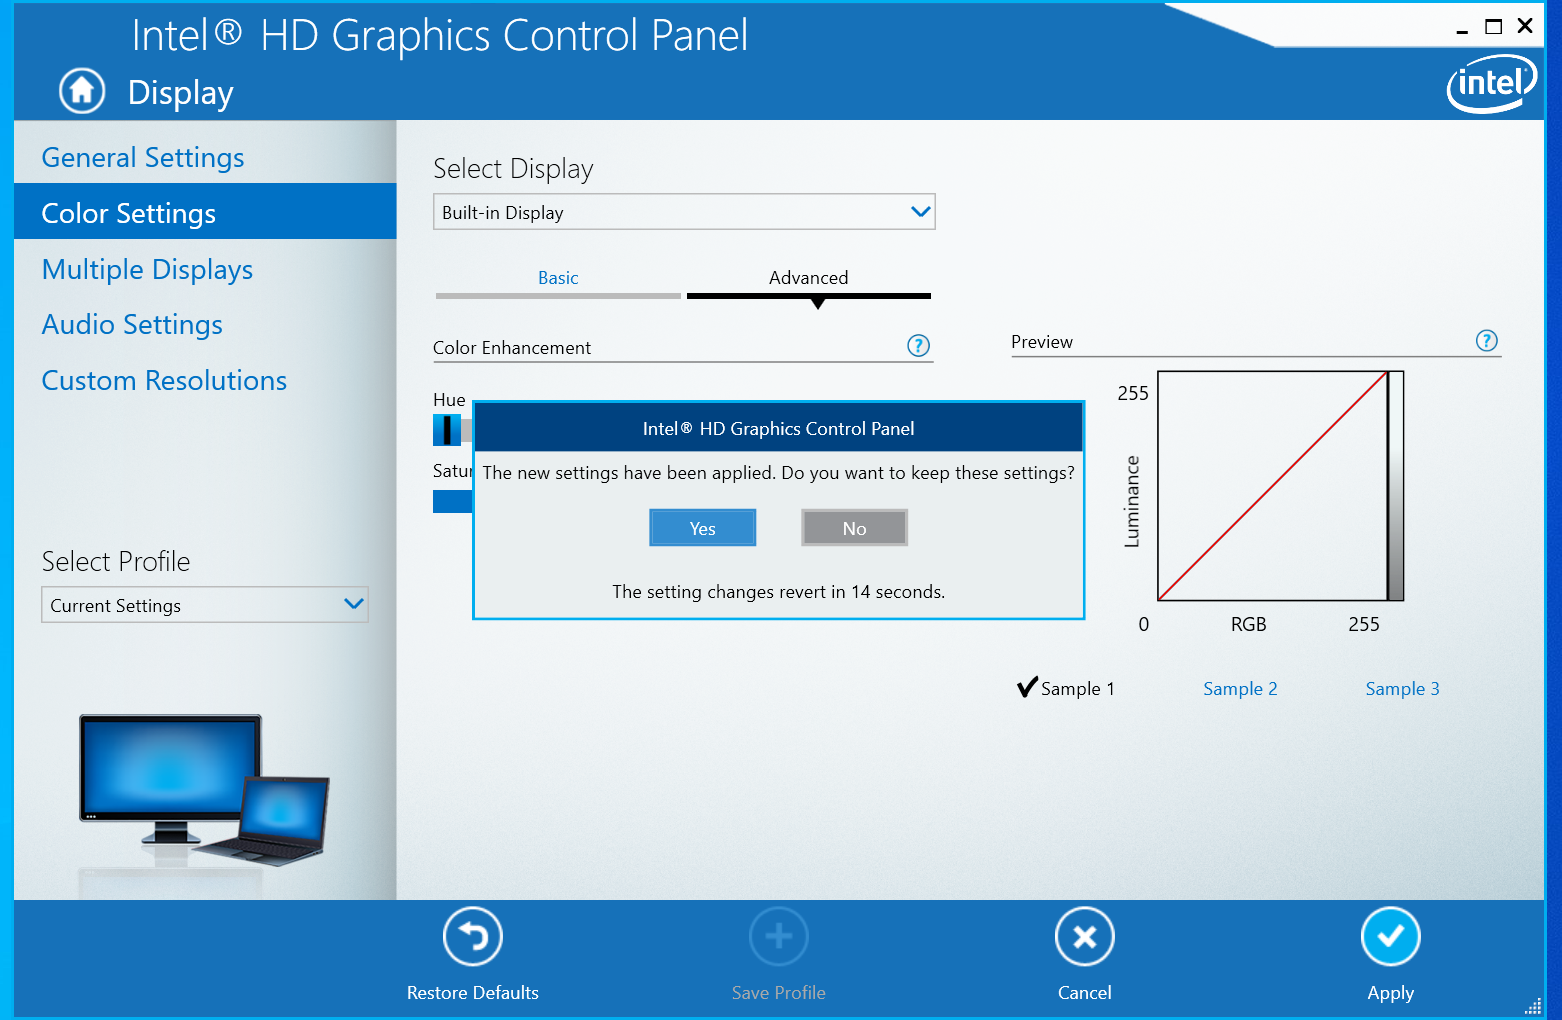
Then Select Apply and (assuming you can still see your screen, though likely) select "Yes" to the dialog box that appears and the Monitor settings should persist;
AMD
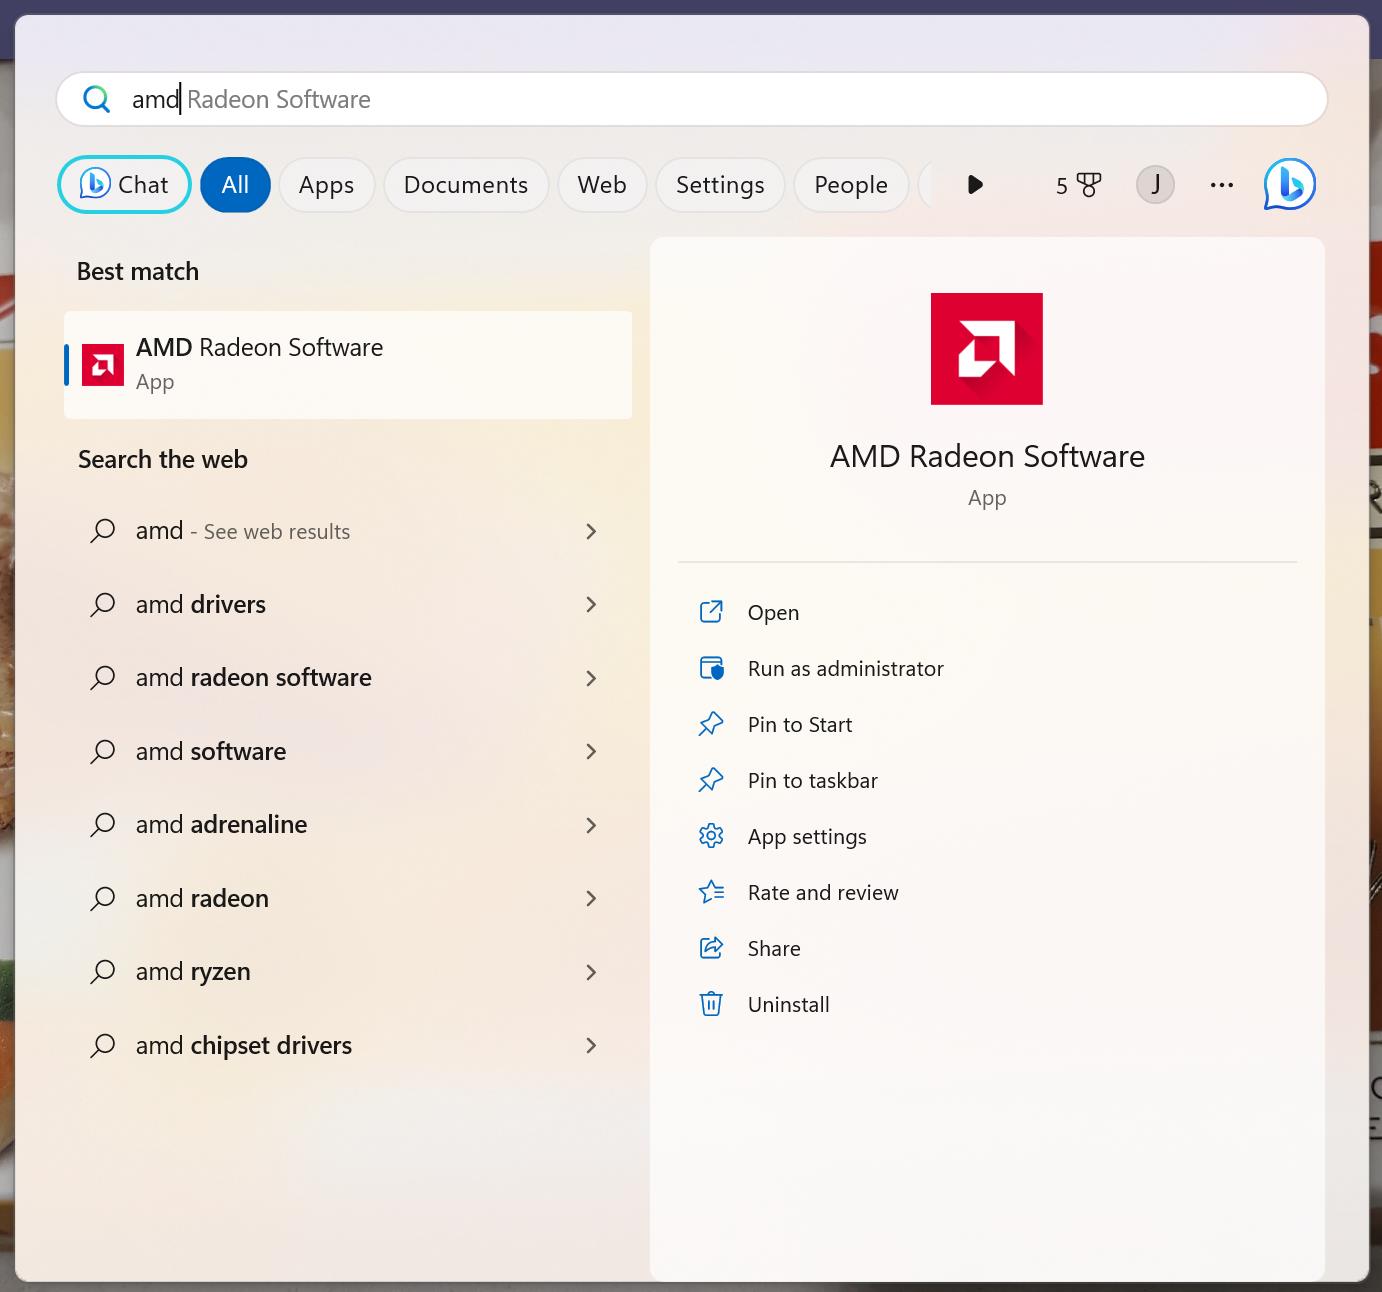
Access the AMD Control Panel by pressing the Windows Key, typing "AMD Radeon Software" and selecting it when it comes up
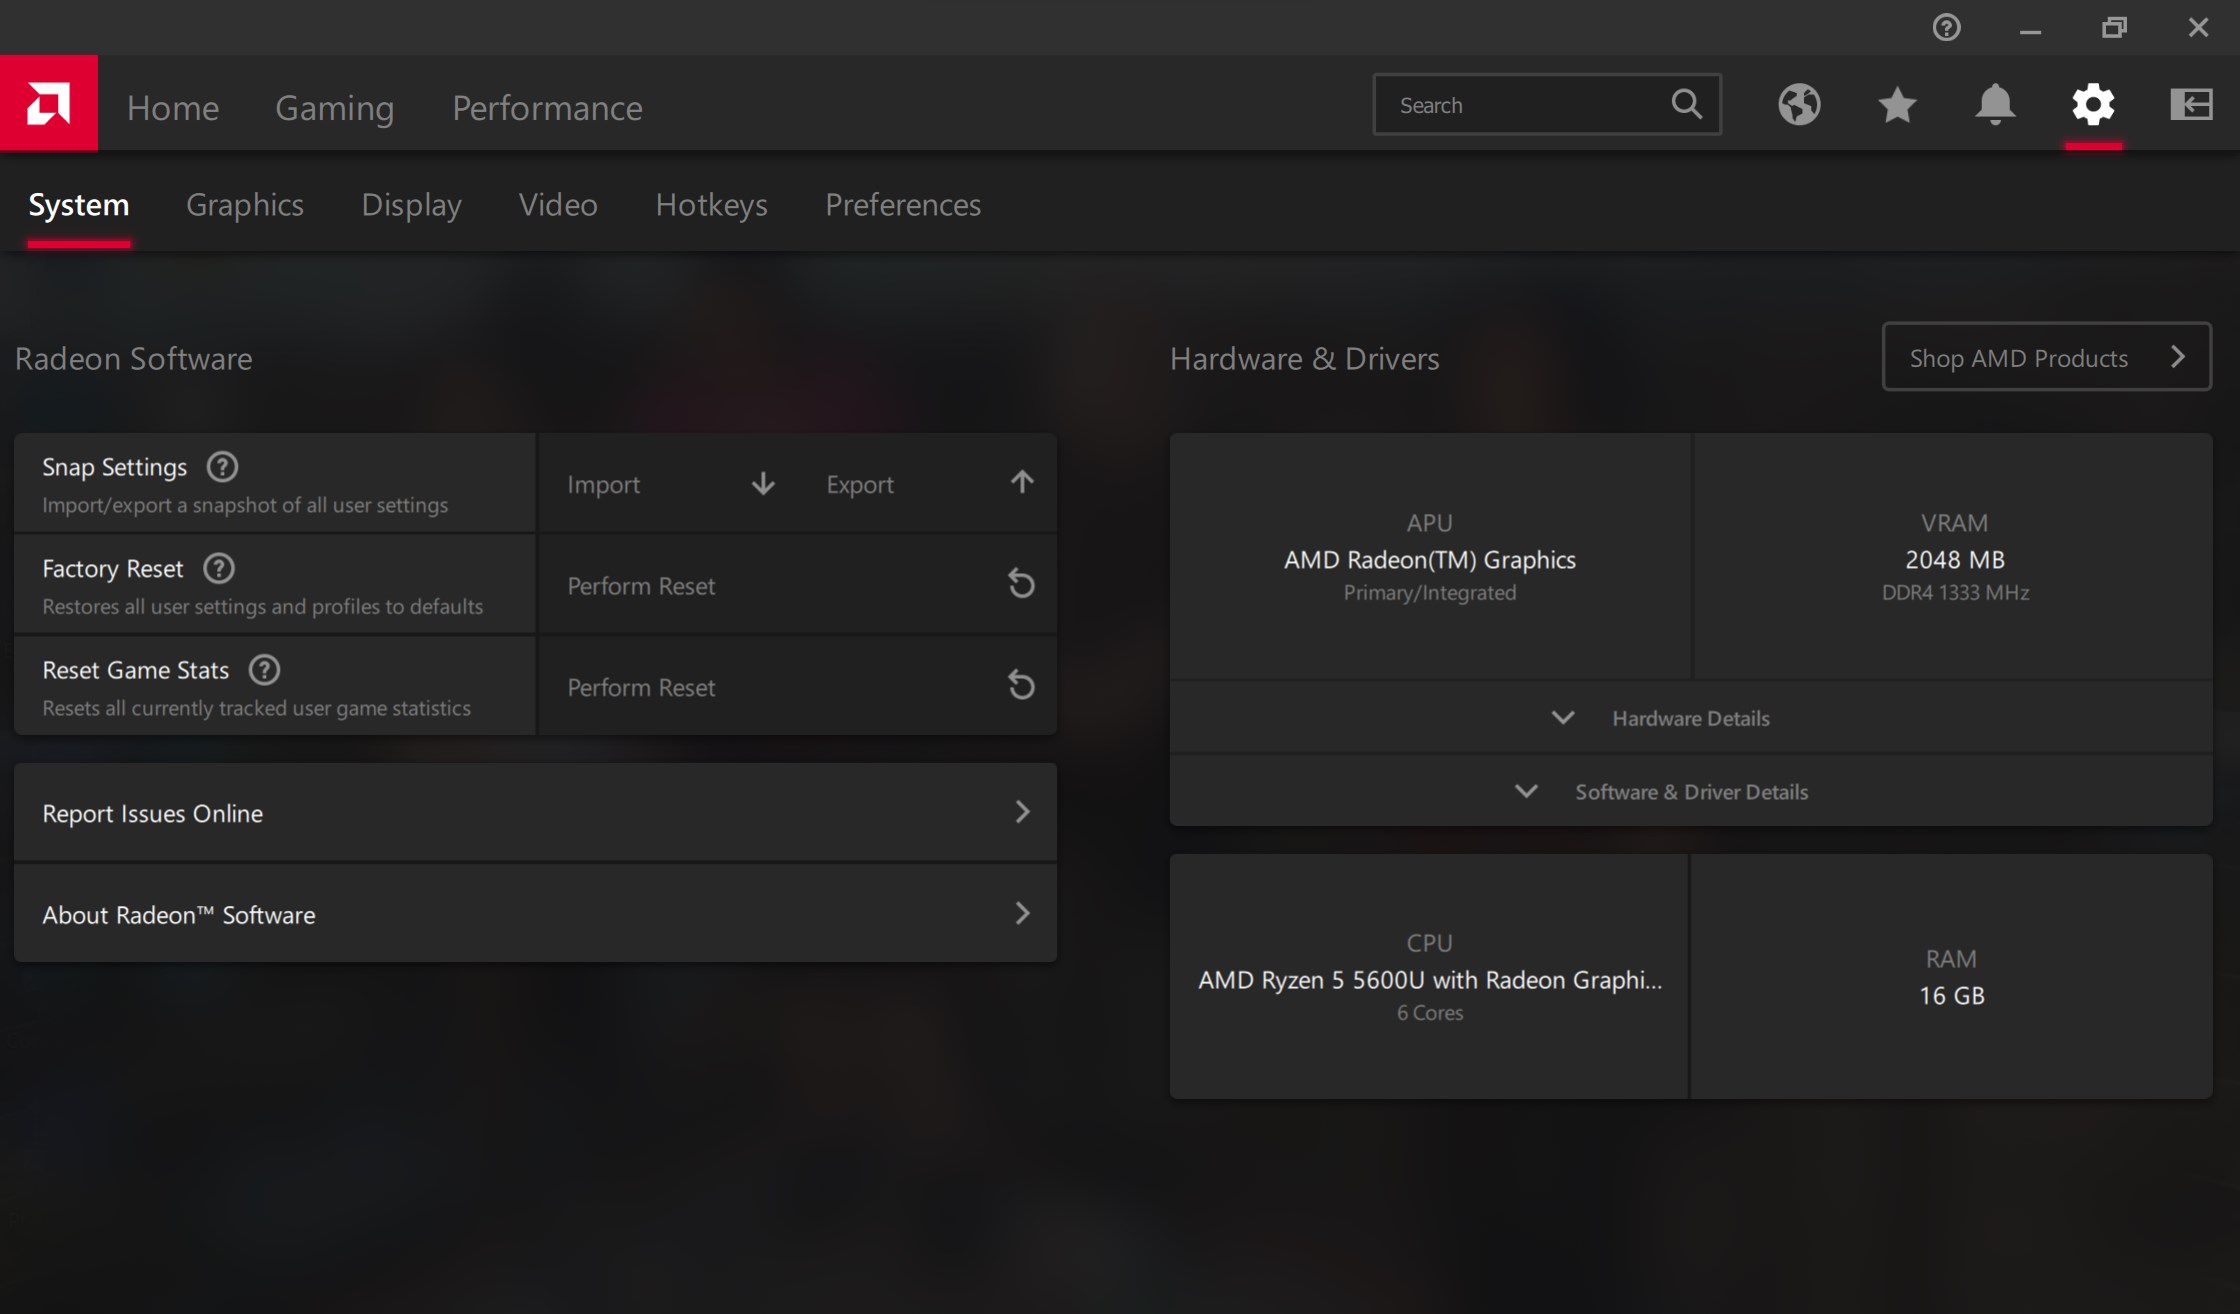
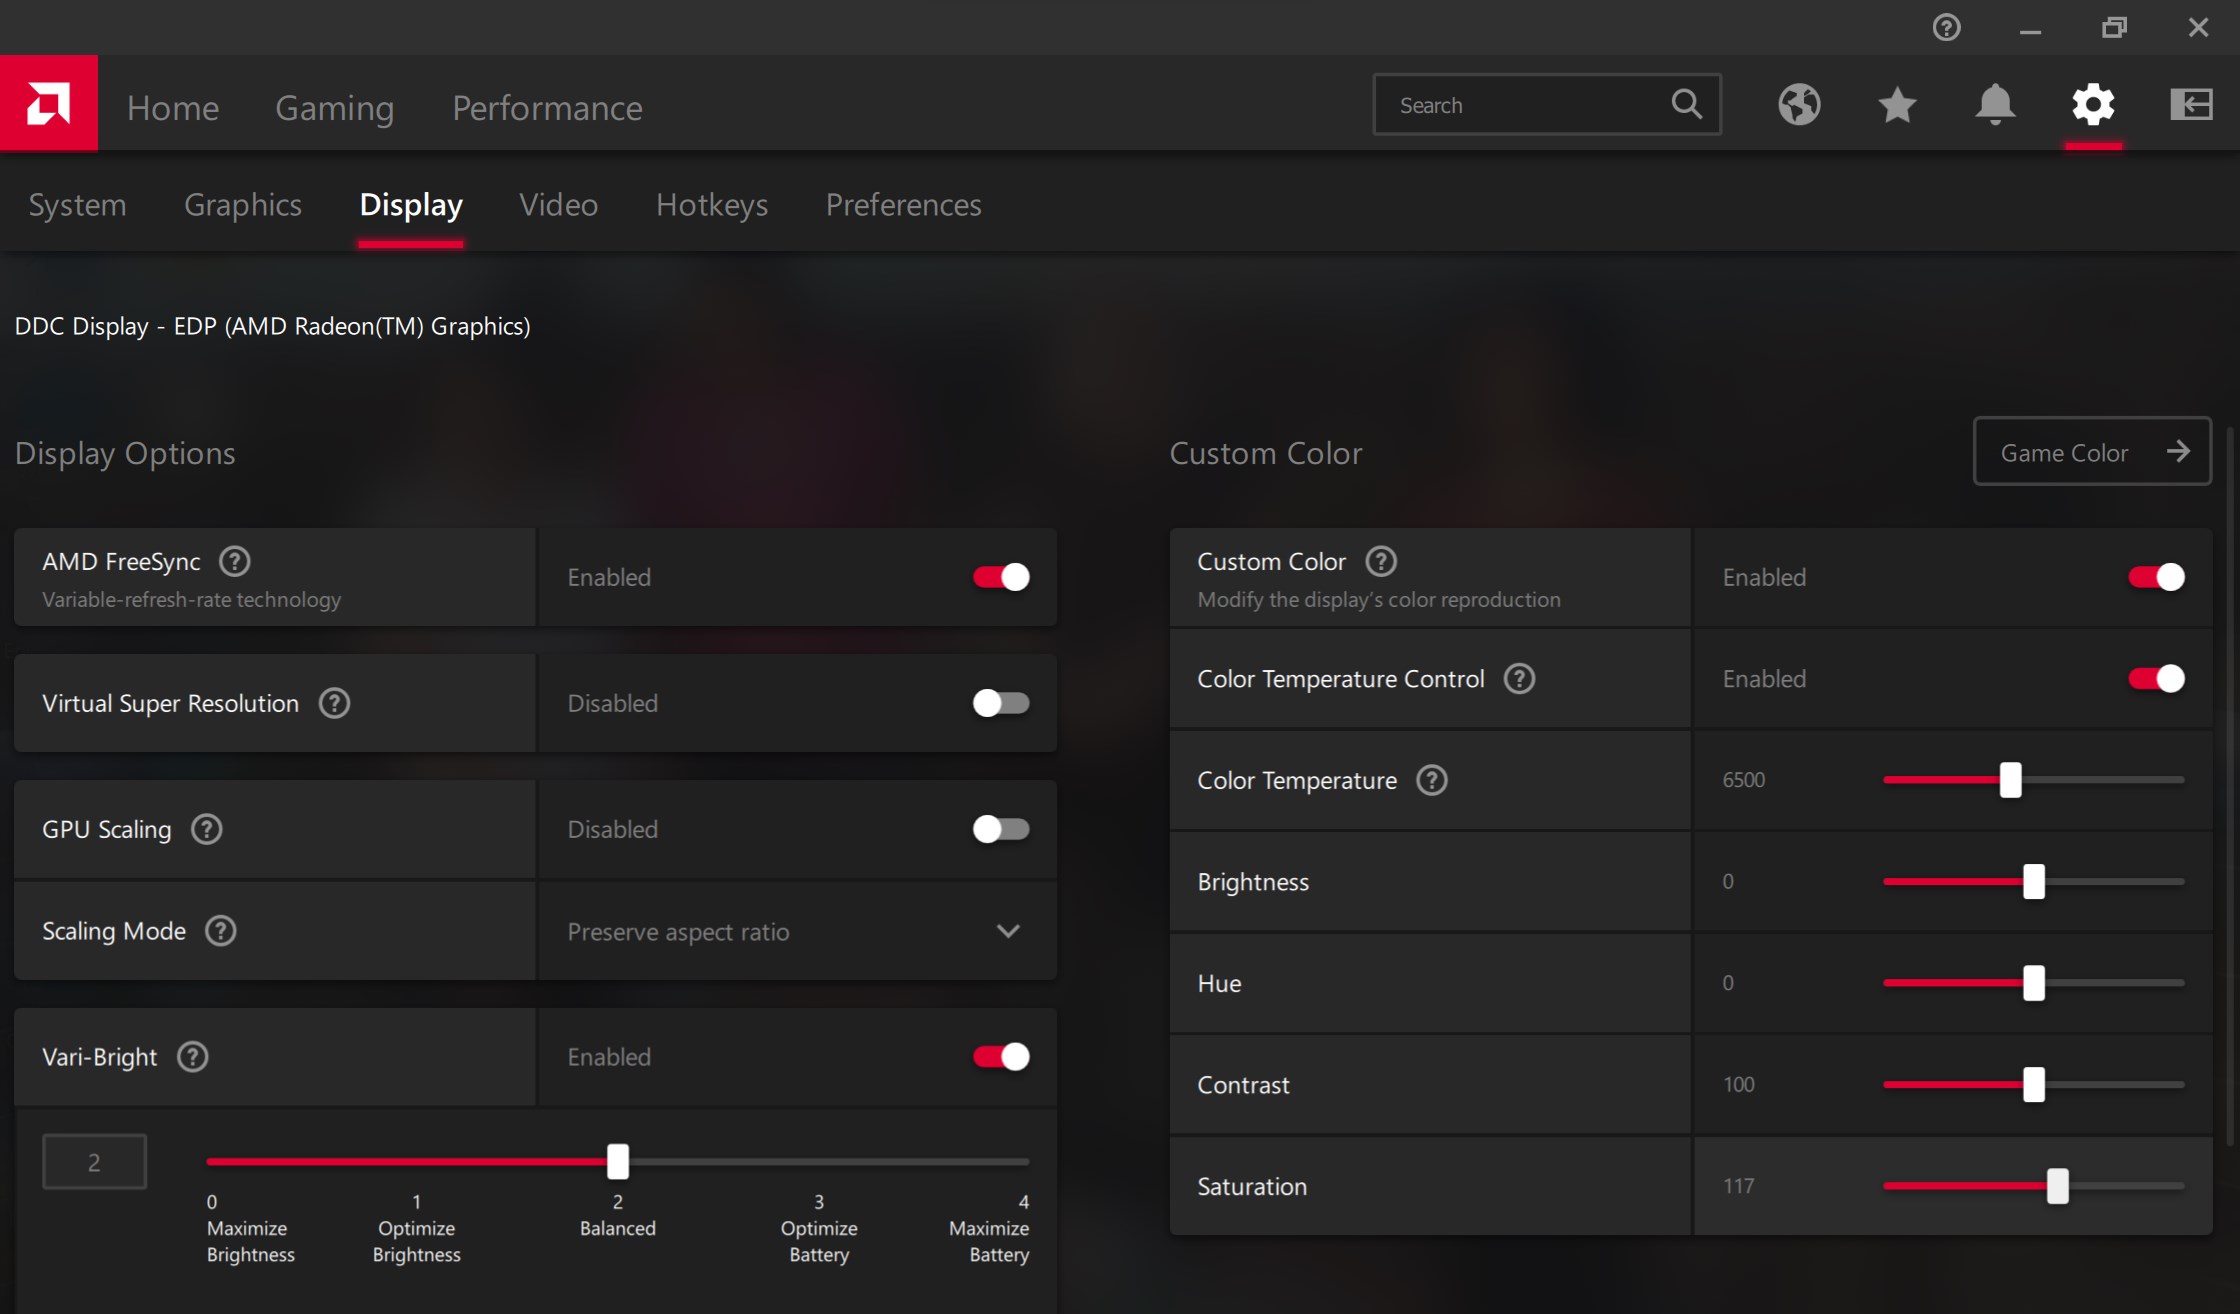
A panel similar to this should appear, select the Display tab on the lower top menu
Now adjust the Saturation value to a number in the range of 110-150 to whatever looks nice.
Monitor Drivers & Color Profile (Advanced)
This section may not reap the rewards of the previous sections but it you want to go the whole hog you need to install the Manufacturer Drivers and the .icm (or perhaps .icc) Color Profiles.
Assuming you dont have the CD that came with the monitor (remember?) you need to download the drivers.
Firstly you need to identify the precise model of your monitor. You can do this by knowing what you bought, looking at the reciept, looking at the sticker behind the monitor or you may be able to retrieve the model from the previously mentioned GPU Control Panel.
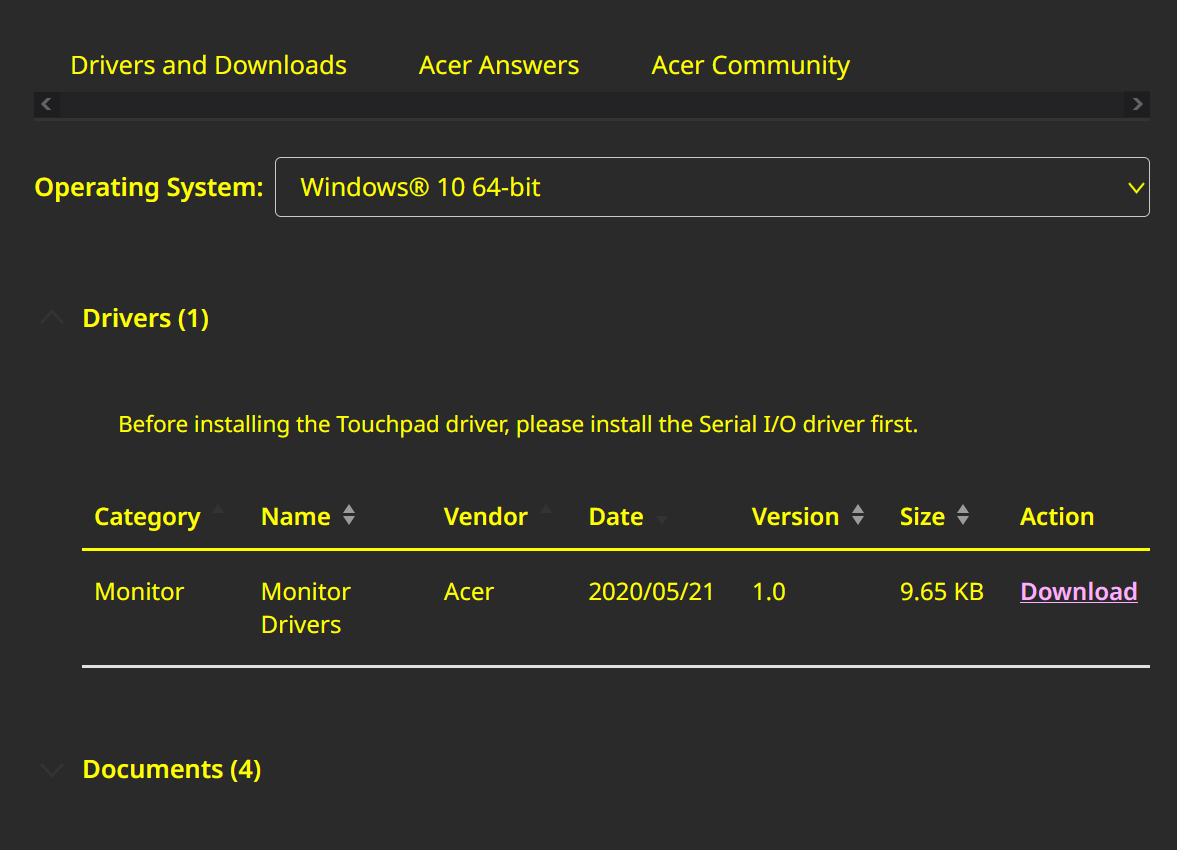
I have a Acer KG271P so we will use that as an example, type the monitor name and the keyword "drivers" into your web browser of choice.
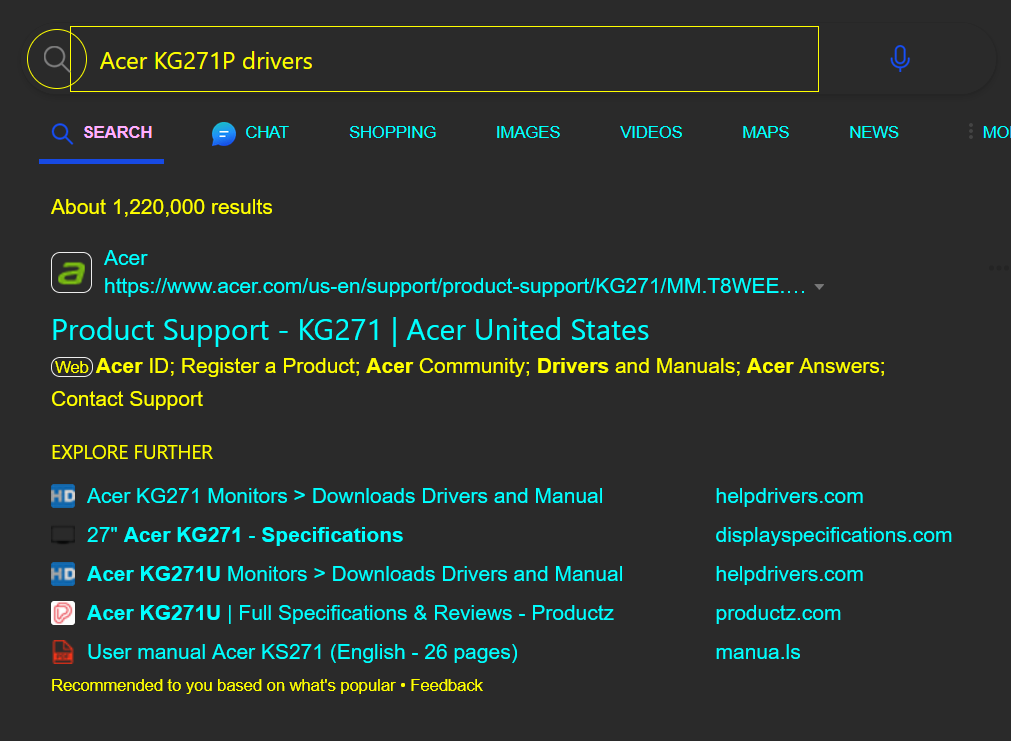
Select your Operating System or alternatively the closest one you can find (but no guarantee's if the wrong OS will work, but it may) and download the drivers.
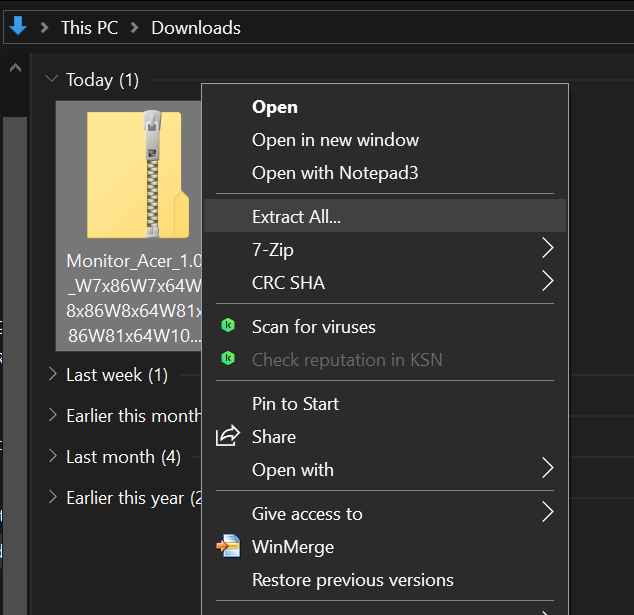
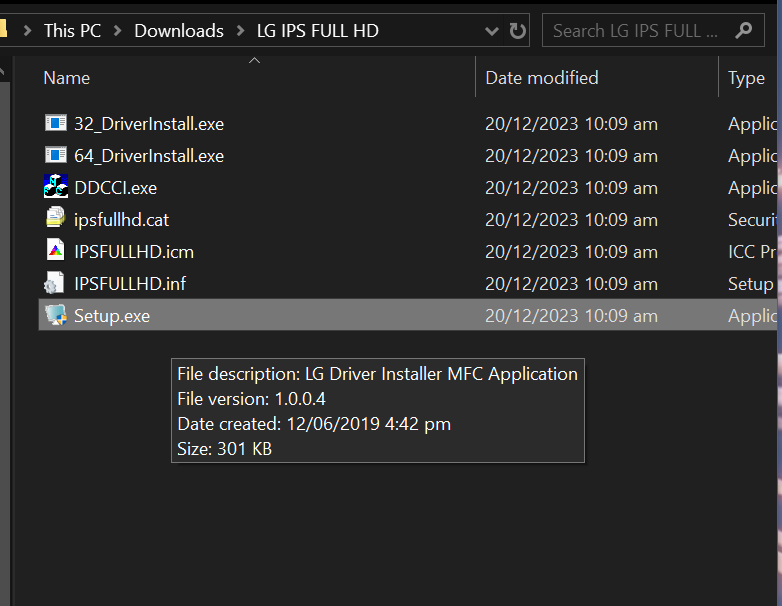
Extract the .zip file or whatever it may be.
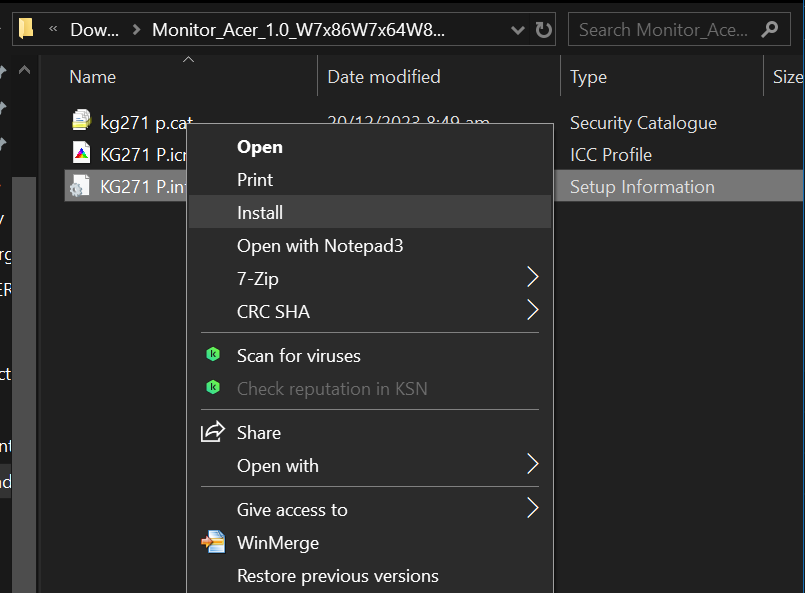
There shold be an .inf file.
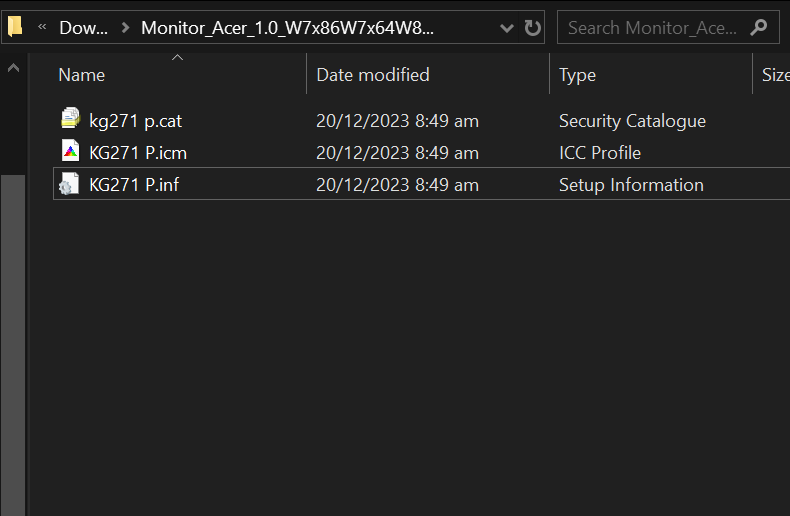
In which case install it.
Or an .exe.
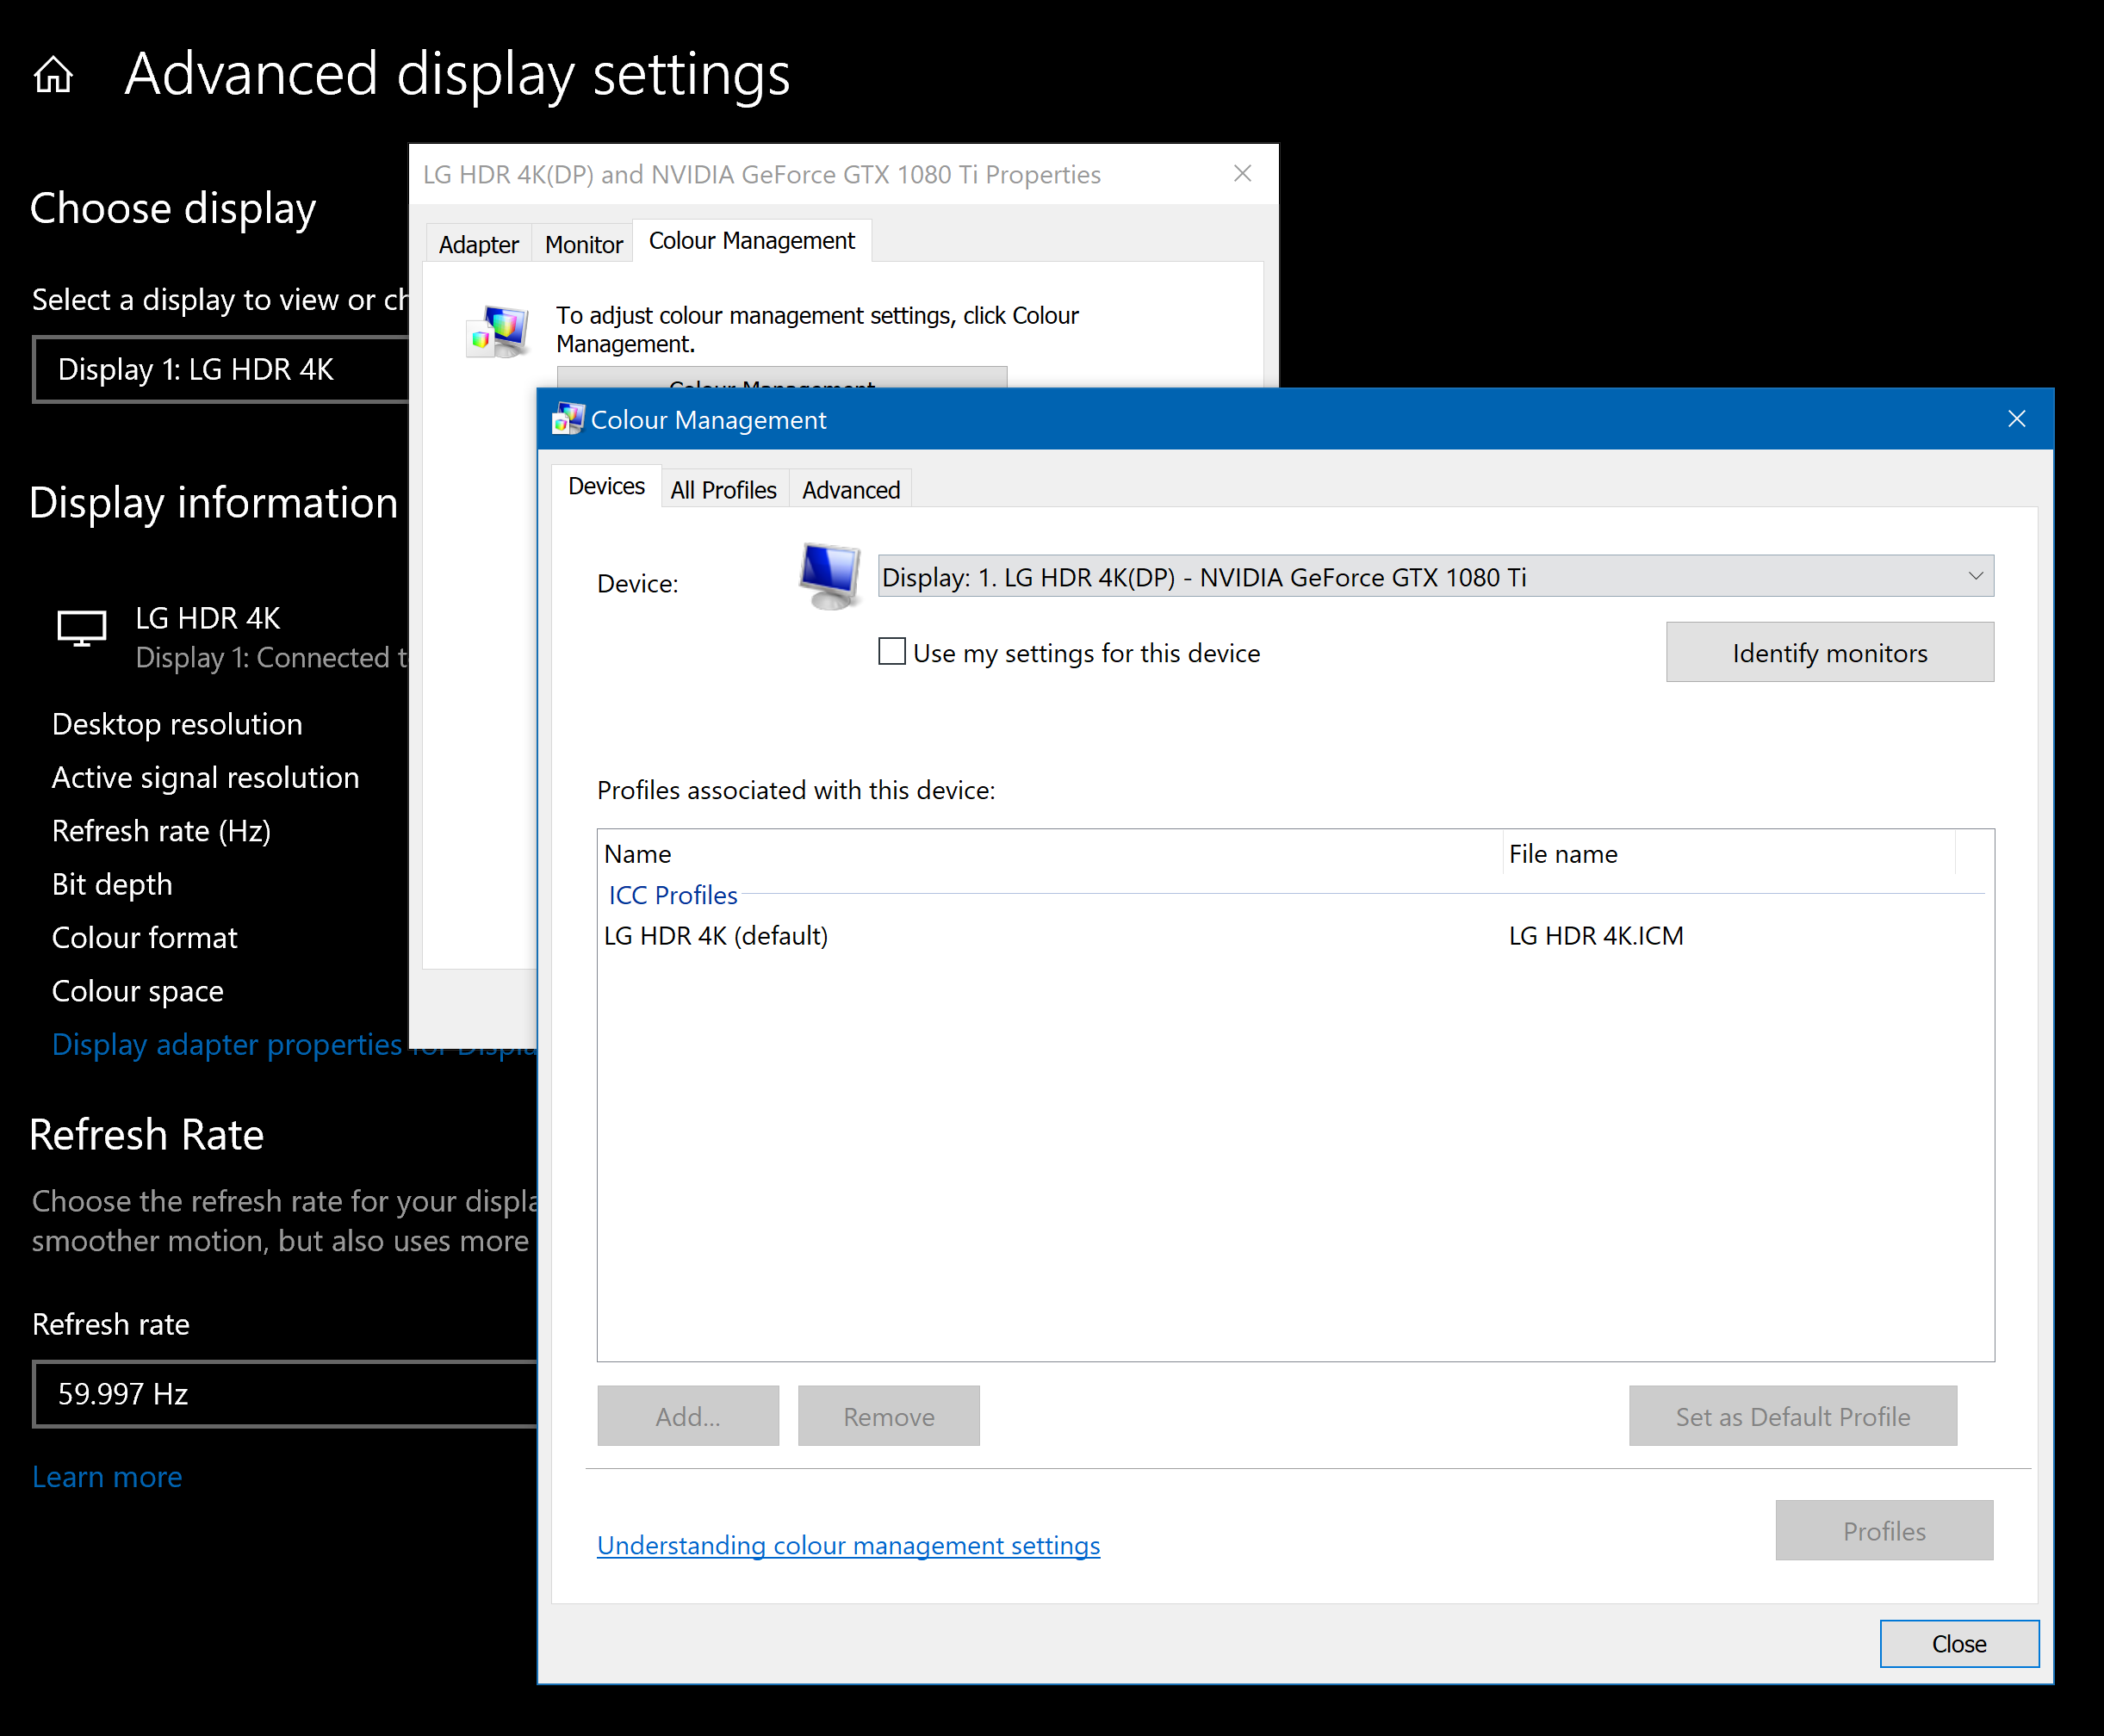
And you can verify its installation here, default/uninstalled value will be something like "Windows Default ICM" or something like that (note: this image is for a different display).
Now everything should be good to go and you may have to go back and re-tweak some of the previously mentioned settings to calibrate everything but I'm sure your monitor will look a lot better than it did, so, gratz 😉!